When it comes to Asian cuisine, most Americans only know about what is listed on a restaurant menu. However, if brave enough, and willing to be adventurous, ask for what a typical Asian would eat at home. When we lived in Pennsylvania, we would travel to Philadelphia monthly to visit Chinatown, and the Reading Terminal Market. In Chinatown, we had our favorite place where the owners knew us by name, even had a group photo taken with us, and it hung behind the register.
Trolleys of various dim sum, oh, better explain what dim sum is. Dim Sum are dishes of small steamed, baked, or fried savory or sweet dumplings containing various fillings, served as a snack or main course. Back to our dining experience; we would pick small steamer baskets filled with the most delicious variety of dumplings. Better yet though, the owners would ask us what were our favorite proteins to eat, especially in the realm of seafood. They would bring out dishes that were not listed on a menu, but were served to local residents only. Therefore, we learned about all kinds of Chinese delicacies that were served in typical Chinese homes, and typical to various villages of that country.
When it comes to other Asian countries, asking for the same type of dining experience is a plus to culinary ecstasy. When it comes to Japanese foods, Americans simply know hibachi, ramen, tempura, bento and sushi; if more is wanted, better know what to ask for off the menu.
First, a known food item is tempura and, surprise, this is not a wholly Japanese creation. In the 16th century Muromachi period, Portuguese Catholic missionaries introduced the Western-style cooking method of coating foods with flour and frying them in oil. Nagasaki was a closed port city, except to Dutch traders, and missionaries, and this is how European culture and cuisine made its way into Japan.
Originally, tempura consisted of meatballs, called niku-dango, containing a minced protein mixed with vegetables, coated in flour and deep fried. Chicken meatballs are called tsukune, while seafood is called takoyaki, with octopus being the number one favorite.

Making tempura is an art form in itself. My first two attempts were complete failures; either my foods were still too moist, or the batter was too thick. My 3rd attempt though was a completely delicious, and oh so satisfying, success. I credit this to a site I found which gave excellent instructions, tips and notes on how to make fool proof tempura.
Instead of my trying to rewrite it, here it is in full from The Spruce Eats food blog.
“Tempura Batter
(https://www.thespruceeats.com/tempura-batter-recipe-2031529)
Ingredients:
1 cup all-purpose flour
1 large egg
1 cup water
Ice cubes, for chilling
the water
Preparation:
In a small bowl, sift the flour once or twice to remove any clumps and to make it light and soft. Set aside.
In a separate medium bowl, gently beat egg until the yolk and egg whites are just barely incorporated.
Combine the water and ice cubes in a cup. Using a strainer, strain the water (you should have 1 cup of ice-cold water) and add it to the bowl with the beaten egg. Make sure you do not actually add ice cubes to the tempura batter.
Add the sifted flour into the bowl with the egg and water mixture and lightly combine the flour using chopsticks. Be careful not to overmix the batter; it should be a little lumpy.
How to Use

When ready to use your tempura batter, there are a few things to keep in mind:
First, lightly coat the seafood or vegetable in either cake flour (I used Pillsbury’s Softasilk), Wondra flour, or all-purpose flour before dipping them into the tempura batter. This allows the batter to adhere better.

When ready to fry, make sure that your frying oil is between 340 F and 360 F. Any higher and it will be too crispy. Any lower and the tempura will absorb too much oil and won't get crispy enough.

Once fried, serve immediately with a dipping sauce and dig in. Tempura can get mushy if it sits too long.
If for some reason the batter won't be used right away, place it in the refrigerator temporarily (for a few short minutes) to keep it ice cold until you're ready to deep-fry your tempura. Do not store in the fridge for an extended period of time.
Tips
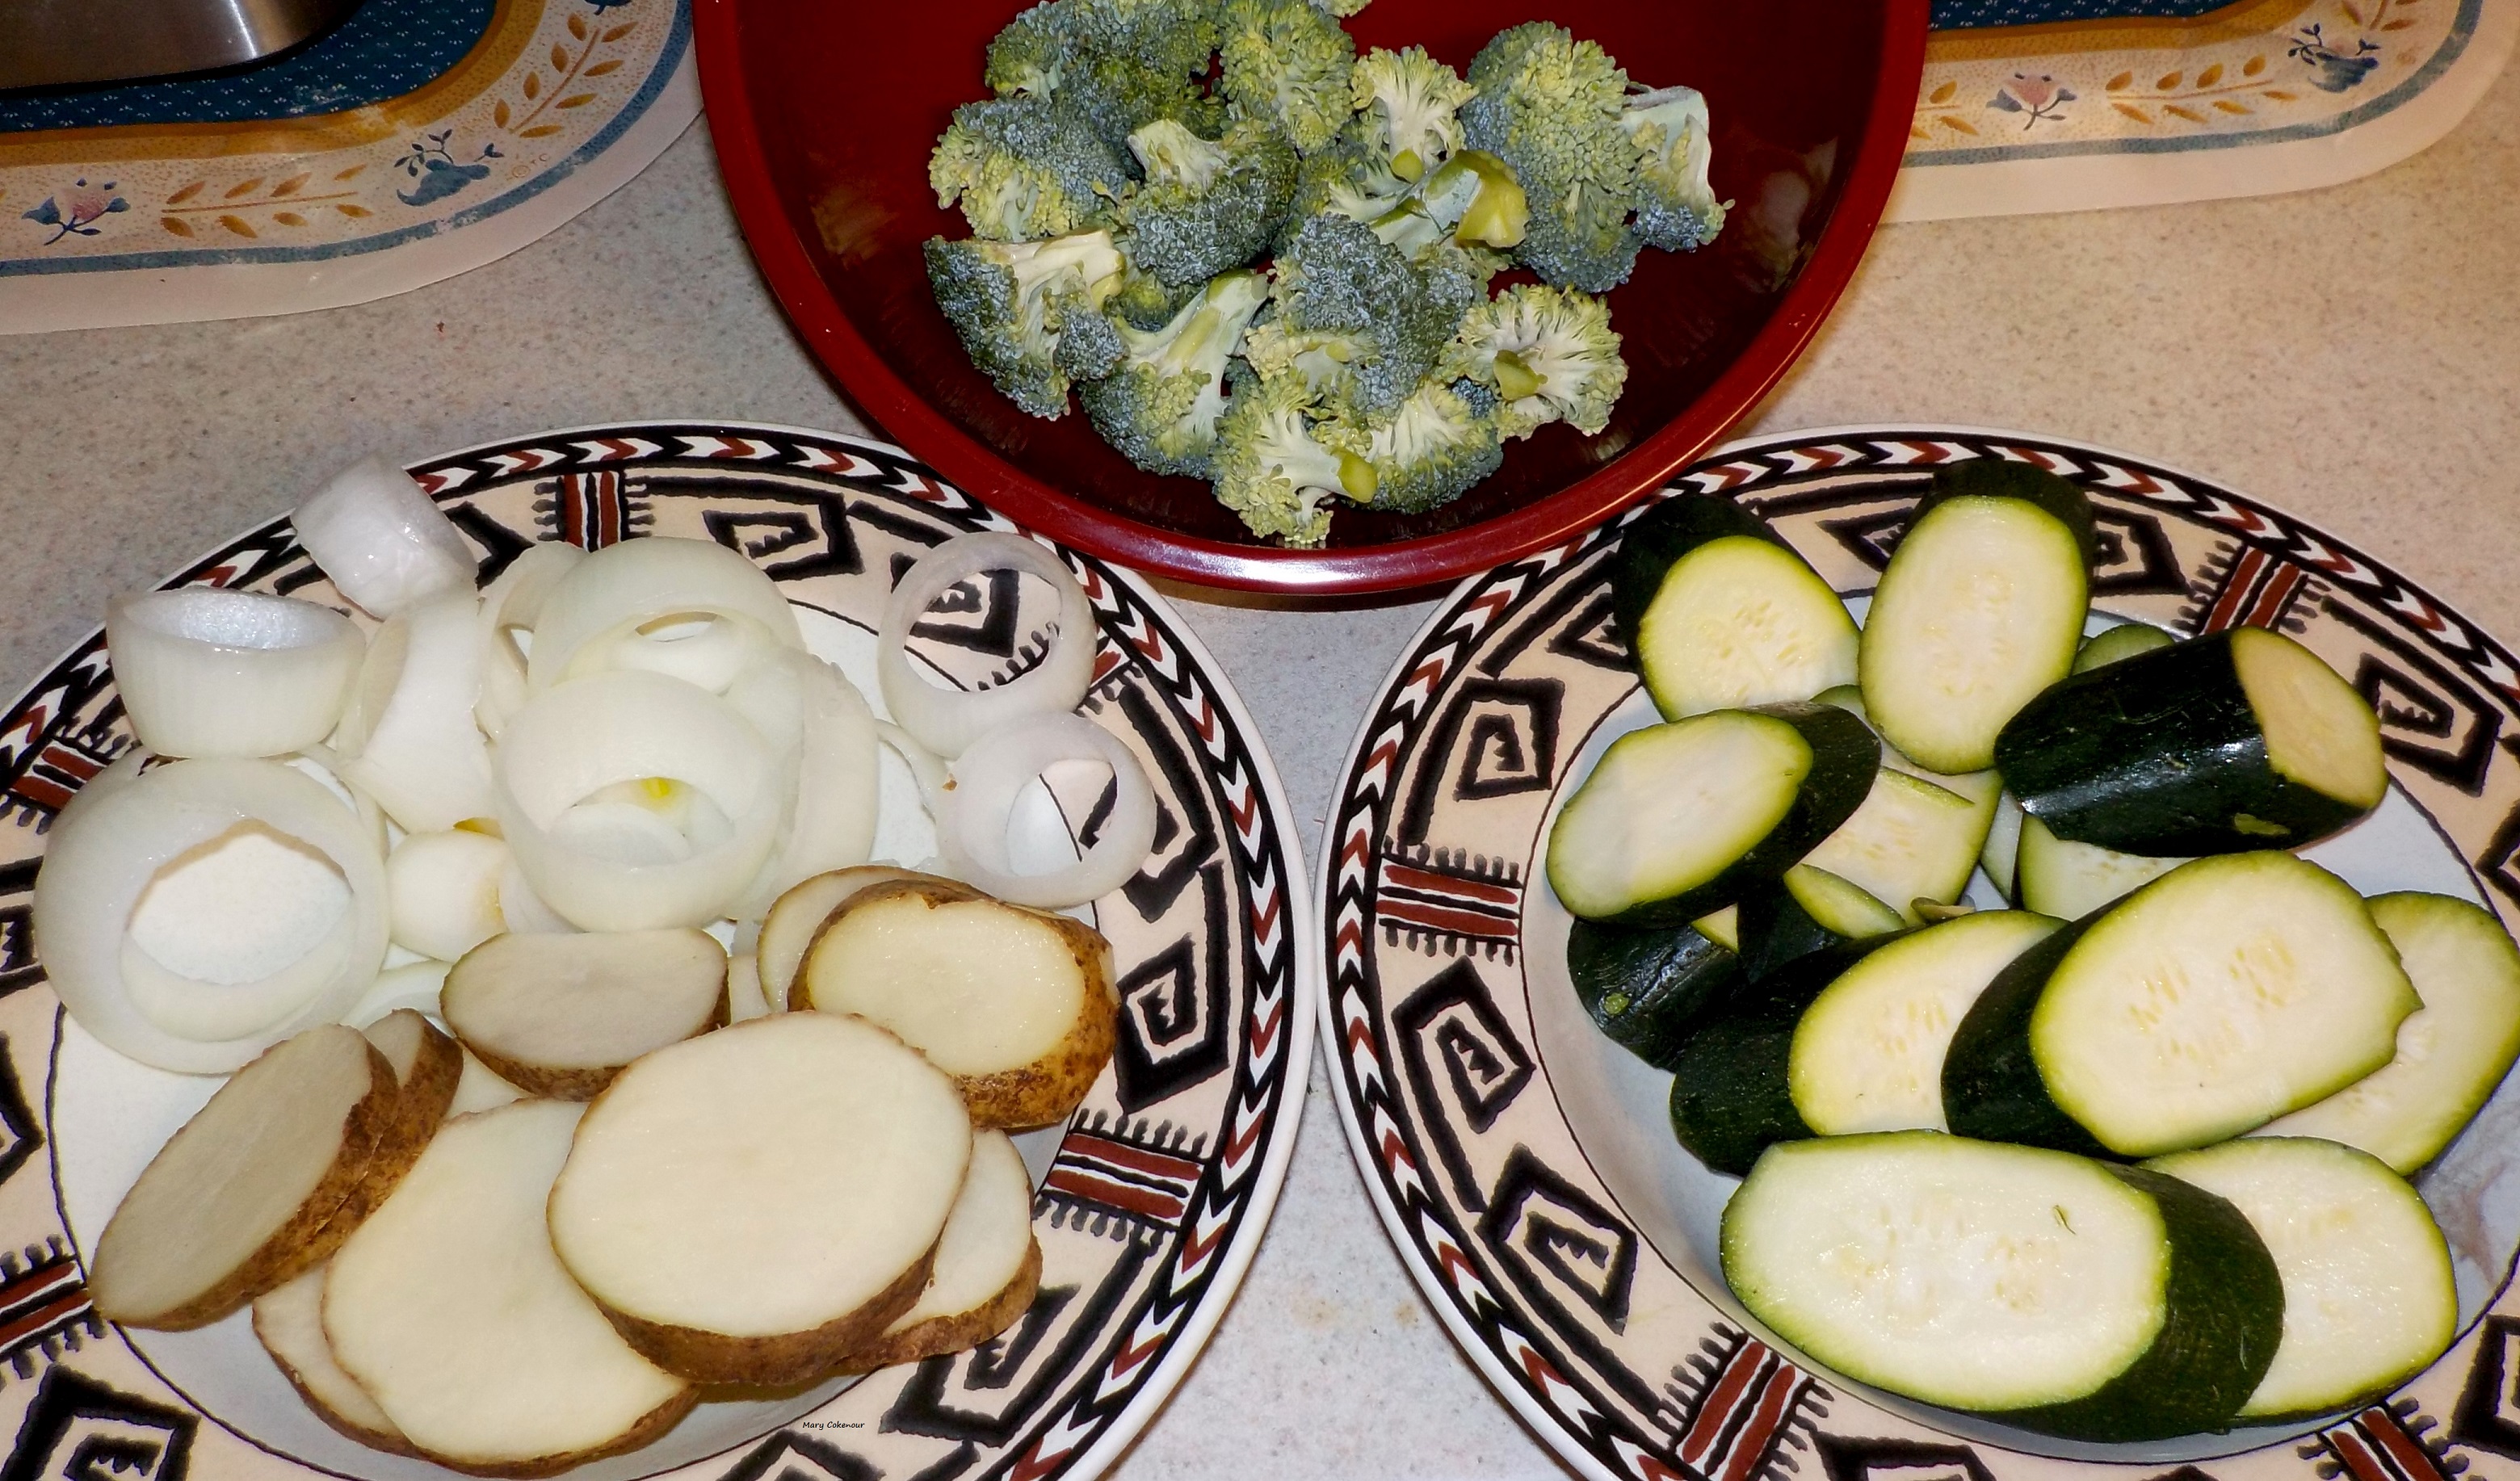
Prepare all of the ingredients you plan to deep-fry prior to mixing the batter ingredients.
Always sift the flour. This makes the flour lighter and easier to incorporate into the batter when it's mixed.
To make the tempura batter crispier, use a low-protein flour such as cake or pastry flour. Another option is to add 1 to 2 tablespoons of cornstarch or potato starch for every cup of all-purpose flour. Also, be sure the water is ice cold, the batter isn't overmixed, and the oil is at the recommended temperature.
For crisp tempura, use ice water instead of room-temperature or tap water.
Instead of a whisk, use chopsticks to mix the tempura batter ingredients. This minimizes the amount of air in the batter and lessens the risk of overmixing.
Heat the oil for deep-frying before the tempura batter is prepared to ensure the batter is at its coldest when it hits the oil and that the oil is ready for frying.
While frying, do not place the bowl of batter on the hot stove or it will get too hot.
Don't prepare the tempura batter ahead of time, as it will not yield the best results.”
~~~~~~~
Remember, you do not have to put an added expense on yourself by purchasing a Wok; a 12-inch, deep skillet will do the job nicely. Make sure you give yourself the time, and patience, to get this done correctly. Above all else, have fun!
Mary Cokenour