Showing posts with label oils. Show all posts

Wednesday, April 26, 2023

Deep Fried Japanese – Part One - Tempura

When it comes to Asian cuisine, most Americans only know about what is listed on a restaurant menu.  However, if brave enough, and willing to be adventurous, ask for what a typical Asian would eat at home.  When we lived in Pennsylvania, we would travel to Philadelphia monthly to visit Chinatown, and the Reading Terminal Market.  In Chinatown, we had our favorite place where the owners knew us by name, even had a group photo taken with us, and it hung behind the register. 

Trolleys of various dim sum, oh, better explain what dim sum is.  Dim Sum are dishes of small steamed, baked, or fried savory or sweet dumplings containing various fillings, served as a snack or main course.  Back to our dining experience; we would pick small steamer baskets filled with the most delicious variety of dumplings.  Better yet though, the owners would ask us what were our favorite proteins to eat, especially in the realm of seafood.  They would bring out dishes that were not listed on a menu, but were served to local residents only.  Therefore, we learned about all kinds of Chinese delicacies that were served in typical Chinese homes, and typical to various villages of that country.

When it comes to other Asian countries, asking for the same type of dining experience is a plus to culinary ecstasy.  When it comes to Japanese foods, Americans simply know hibachi, ramen, tempura, bento and sushi; if more is wanted, better know what to ask for off the menu. 

First, a known food item is tempura and, surprise, this is not a wholly Japanese creation.  In the 16th century Muromachi period, Portuguese Catholic missionaries introduced the Western-style cooking method of coating foods with flour and frying them in oil.  Nagasaki was a closed port city, except to Dutch traders, and missionaries, and this is how European culture and cuisine made its way into Japan.

Originally, tempura consisted of meatballs, called niku-dango, containing a minced protein mixed with vegetables, coated in flour and deep fried.  Chicken meatballs are called tsukune, while seafood is called takoyaki, with octopus being the number one favorite.

In the 18th century, chefs began experimenting by cutting up portions of meats, chicken, seafood and vegetables.  Instead of a simple coating of flour, additions of water and egg created a light batter.  The individual portions were slightly dried, as too much moisture would keep the batter from adhering.  The oil was heated to 350F, and the foods cooked 3-5 minutes on each side, to a very lightly browned, yet very crispy consistency. 

Making tempura is an art form in itself.  My first two attempts were complete failures; either my foods were still too moist, or the batter was too thick.  My 3rd attempt though was a completely delicious, and oh so satisfying, success.  I credit this to a site I found which gave excellent instructions, tips and notes on how to make fool proof tempura.

 Instead of my trying to rewrite it, here it is in full from The Spruce Eats food blog.

“Tempura Batter 

(https://www.thespruceeats.com/tempura-batter-recipe-2031529)

Ingredients:

1 cup all-purpose flour

1 large egg

1 cup water

Ice cubes, for chilling the water

Preparation:

In a small bowl, sift the flour once or twice to remove any clumps and to make it light and soft. Set aside.

In a separate medium bowl, gently beat egg until the yolk and egg whites are just barely incorporated.

Combine the water and ice cubes in a cup. Using a strainer, strain the water (you should have 1 cup of ice-cold water) and add it to the bowl with the beaten egg. Make sure you do not actually add ice cubes to the tempura batter.

Add the sifted flour into the bowl with the egg and water mixture and lightly combine the flour using chopsticks. Be careful not to overmix the batter; it should be a little lumpy.


How to Use

 When ready to use your tempura batter, there are a few things to keep in mind:


First, lightly coat the seafood or vegetable in either cake flour (I used Pillsbury’s Softasilk), Wondra flour, or all-purpose flour before dipping them into the tempura batter. This allows the batter to adhere better.
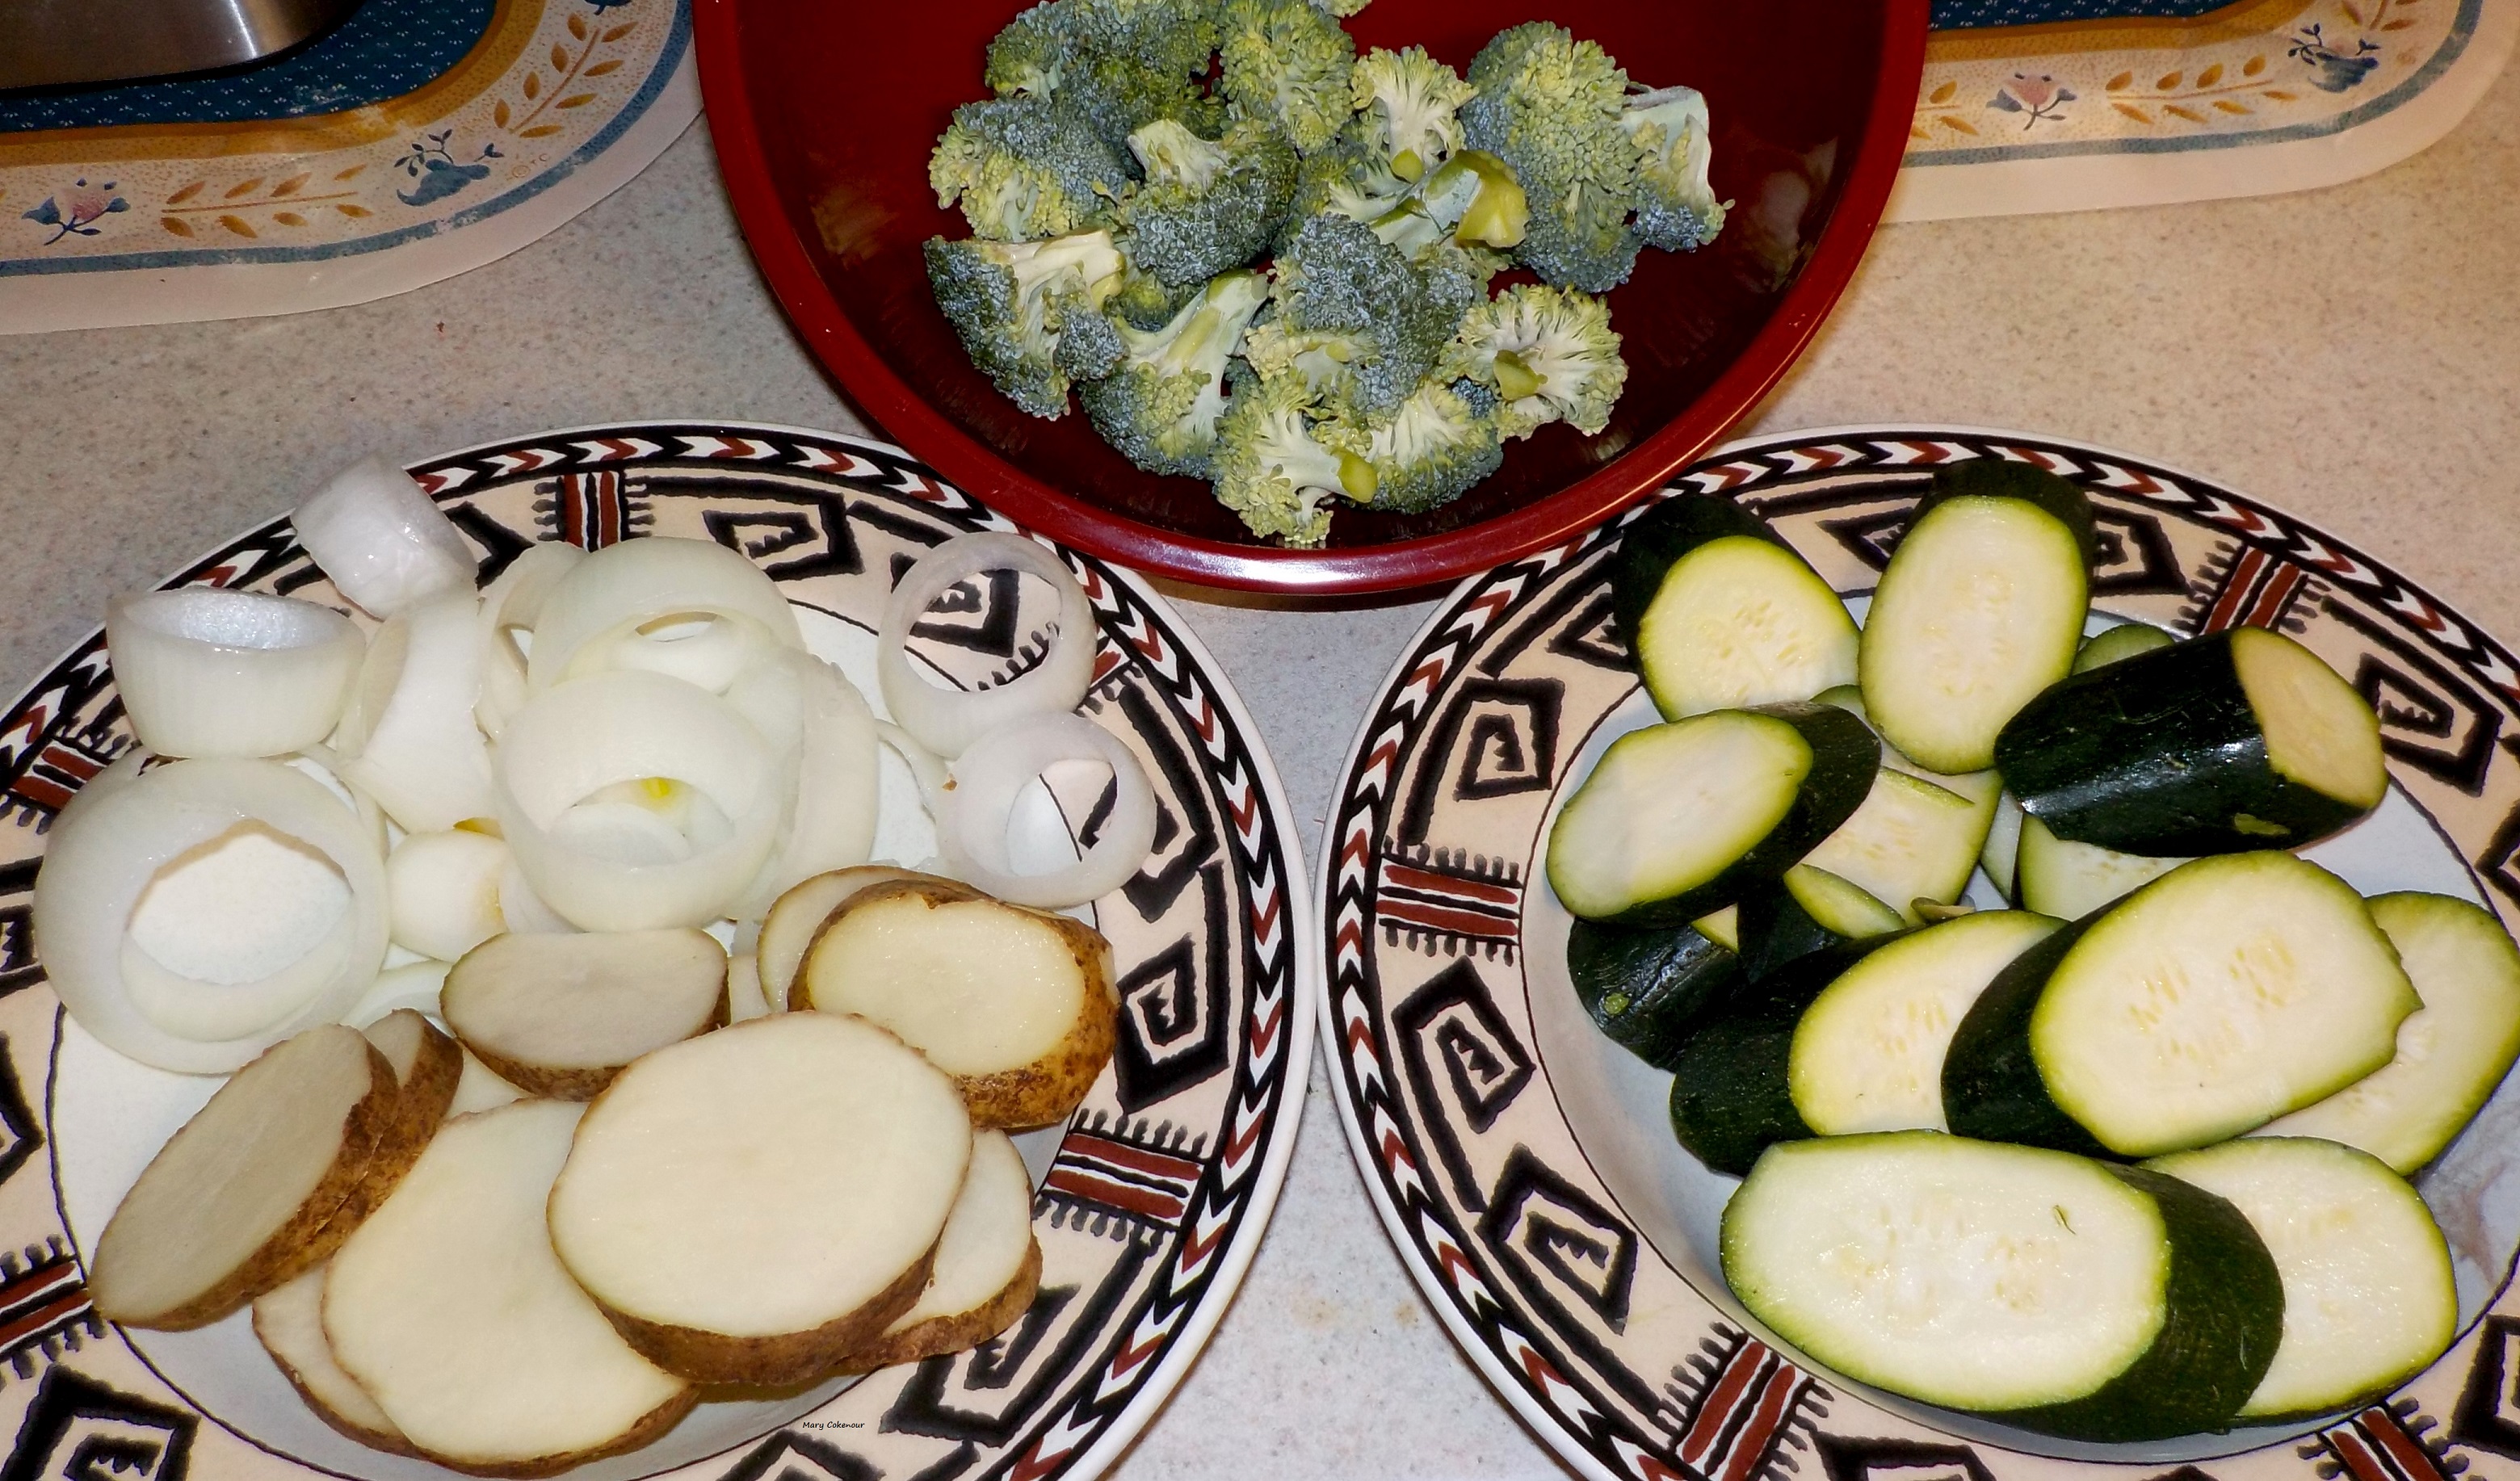


Once coated, dip your items into the batter gently. Too much batter runs the risk of a crispy exterior and mushy interior.


When ready to fry, make sure that your frying oil is between 340 F and 360 F. Any higher and it will be too crispy. Any lower and the tempura will absorb too much oil and won't get crispy enough.


Once fried, serve immediately with a dipping sauce and dig in. Tempura can get mushy if it sits too long.


If for some reason the batter won't be used right away, place it in the refrigerator temporarily (for a few short minutes) to keep it ice cold until you're ready to deep-fry your tempura. Do not store in the fridge for an extended period of time.


Tips

Prepare all of the ingredients you plan to deep-fry prior to mixing the batter ingredients.

Always sift the flour. This makes the flour lighter and easier to incorporate into the batter when it's mixed.

To make the tempura batter crispier, use a low-protein flour such as cake or pastry flour. Another option is to add 1 to 2 tablespoons of cornstarch or potato starch for every cup of all-purpose flour. Also, be sure the water is ice cold, the batter isn't overmixed, and the oil is at the recommended temperature.

For crisp tempura, use ice water instead of room-temperature or tap water.

Instead of a whisk, use chopsticks to mix the tempura batter ingredients. This minimizes the amount of air in the batter and lessens the risk of overmixing.

Heat the oil for deep-frying before the tempura batter is prepared to ensure the batter is at its coldest when it hits the oil and that the oil is ready for frying.

While frying, do not place the bowl of batter on the hot stove or it will get too hot.

Don't prepare the tempura batter ahead of time, as it will not yield the best results.”

~~~~~~~

Remember, you do not have to put an added expense on yourself by purchasing a Wok; a 12-inch, deep skillet will do the job nicely.  Make sure you give yourself the time, and patience, to get this done correctly.  Above all else, have fun!

Mary Cokenour


Friday, October 4, 2019

Cookies From Cake Batter, Who Knew!?!

With the holiday season beginning, ok, let me stop right here for a moment.  It is October, main holidays are Columbus Day (October 14) (even though everyone knows the Vikings actually discovered America), Samhain (October 31st) and Halloween (October 31st).  Why our local Family Dollar had Halloween candy displayed since the end of July, I do not know.  Think about it, that is 3 months the candy is sitting on the shelves, waiting to be purchased and given out to children trick or treating.  Glancing down one aisle, Thanksgiving decorations (sorry, the harvest themed decor is geared towards turkey day); which means Yule and Christmas decor should be available in about 1-2 weeks.  Ridiculous!  This is why many people get stressed out from October to January; the seasonal holidays are being rammed down our throats daily, and all at once!  Tell me, who actually has the time to welcome in the New Year after all that chaos!  Thank you for letting me rant, now back to baking and today's post on cookies,

Fall season has begun, the temperatures are cooling, leaves dropping or turning bright colors before doing so.  For me, this means experimenting with cookie recipes.  Each year I like to make little gift plates for those businesses I deal with often.  It's just a little thank you and holiday cheer to those workers dealing with all kinds of customers daily.  One advantage of being on Facebook is all the recipes, with photos, that pop up in advertising, or are shared by those on my Friends list.  One recipe I definitely decided to try out was making cookies out of cake mix; not due to being lazy, but it sounded intriguing.  Three main ingredients plus add-ins like chocolate chips, nuts, sprinkles, dried fruits; too good to be true, and how tasty were the cookies really.

I let my hubby, Roy, pick out the flavor of the cake mix for my first attempt, and he choose Red Velvet.  In case you didn't know, red velvet is basically chocolate cake with a dump load of red food coloring.  I have made it from scratch, but remember, I was looking for easy.  Oh, I did find a recipe for these cookies which claimed they were "made from scratch".  Going over the recipe, I would rename it, "Semi-homemade", as boxed cake mix is still a main ingredient plus the addition of instant pudding.   It was a complicated, many ingredient recipe which resulted in only 20 cookies at completion; simply not worth my time when I was looking for fast and easy.


Here is the basic recipe for Cake Batter Cookies (using a boxed cake mix) which I found listed on the internet many, many times.

Cake Batter Cookies

Ingredients:

1 box cake mix (15.25 oz./16.25 oz./18.25 oz.)
**oil (personally use a vegetable/canola oil blend)
2 eggs

** 1/3 cup is for 15.25 oz. + one ounce of flour, or 16.25 oz. total.
     1/2 cup is for 18.25 oz.

If you live in a high altitude area, like myself, add the appropriate amount of flour listed on the cake mix box.  I shifted the mix + flour, added the oil for the size mix used, and the 2 eggs; it all came together perfectly.

Additions:  1/2 cup for chips - mint, vanilla, semi-sweet, milk chocolate, dark chocolate, butterscotch, peanut butter, cinnamon or toffee.

                   1/2 cup for nuts and dried fruits; large nuts and fruits should be chopped.

                   1/4 cup for sprinkles - they are tiny, so a little will go a long way.

Preparation:

Preheat oven to 350F; line jelly roll pans or cookie sheets with parchment paper (keeps the cookies from sticking and burning).

In a medium bowl, mix together cake mix, oil, eggs and any additions.  I used a heavy duty rubber spatula and it blended together without any issues.  A ball of dough will form (it can be wrapped in plastic wrap, refrigerated for use after an hour, in case several different flavors are going to be baked up).


Use a teaspoon to measure out the dough, roll into a ball with fingers and place onto parchment paper.  These cookies do not spread out wide, so the dough can be pressed down slightly and a crinkle effect will be created as they bake.


Bake the cookies for 12-14 minutes, let cool slightly before removing and plating.  Sprinkle powdered sugar to enhance the crinkles, or leave as is.

Makes 3 dozen cookies if using a teaspoon to measure out.  Want larger cookies, double the teaspoon amount, or use a tablespoon to measure out the dough.

Basically, I had 3 dozen delicious red velvet cookies, with semi-sweet chocolate chips, baked and plated.  I sprinkled half with powdered sugar, and the other half were left as is.  The whole process took 45 minutes as I had only have two racks in my oven; if I had a third, the time would have been 30 minutes.

Hint:  if you cannot decide what flavors of cake mix to purchase, stock up on "White", then you can add cocoa powder to create chocolate; vanilla, lemon, peppermint or other flavors of extract as well.  Consider the white cake mix to be a blank canvass, you're the artist, now create!

Mary Cokenour

Friday, January 18, 2019

Air Fryer Pros and Cons


2018 was the year of two new kitchen appliances, the Instapot and the Air Fryer.  For my birthday, my good friend Amy Watkins Kensley blessed me with one of these inventions, the Philips HD9220 Air Fryer.  Now here comes 2019 which I have dubbed, “The Year of Fresh Starts”, so what better way to start the year than to air fry instead of oil fry?


New Year’s Day meal was a roast beef with air fried fries; hand cut fries, not frozen.  The 2.5 pound roast was marinated overnight with a few splashes of red wine vinegar.  Why nothing fancier?  I often use red wine vinegar to tenderize meats – elk, venison, beef; it softens the fibers of the meat to make it more tender and succulent.  Oven preheated to 450F, meat lightly salted and peppered, laid upon a roasting rack and into the oven it went.

An hour later, I began prepping the fries.  Four medium sized Russet potatoes were washed, cut into two inch pieces and then immersed into cold water for a half hour.  By the way, the instructions for making hand cut fries is in the instruction manual; a first time try should follow instructions.  After a half hour, the fries were dried in paper towels, then mixed with a teaspoon of olive oil.  Now hold on you’re saying, why am I using oil in an air fryer?

Here is one of the pros and cons of oil frying – the usage of oil.  Generally, when frying potatoes, or many other items, in a pan of oil, the amount of oil used is large (1-3 cups!)  Even draining the food on paper towels does not remove all the excess, absorbed oil.  However, it’s essential to have plant-based oils, such as avocado and olive, in your diet to help maintain brain and hormone health.  An air fryer use of a teaspoon compared to a cup of oil, whether a healthy oil, or not, is still better than pan frying.

Back to my fries, spooning them into the air fryer’s basket (don’t over stuff the basket!), I set the temperature to 355F and the timer for 25 minutes.  The air fryer does not need preheating; basically it’s a “set it and forget it” process.  However, it’s also a trial and error process, so here’s another pro vs. con.  Air frying produces high temperatures rapidly.  Following instructions in the manual makes sense as these are tried and proven instructions in a test kitchen.  Whether high altitude or not, this factor does not affect the cooking temperatures or times of an air fryer. 


Due to the high heat, use a thick wooden cutting board to place the air fryer on; it can crack countertops of tile, marble and even Corian.  Make sure to not have non-heat resistance items near the air fryer, give it lots of space!  Oh, another con is attempting to keep the air fryer on the countertop as one of your everyday appliances.  It’s large and takes up lots of space you might need, or not be willing to give up to one appliance.  I store mine in cabinet space within my microwave cart, just pull it out when needed.

Back to food and the high heat, food can easily be burned; a little char around the edges of ribs or steak might taste good, but who wants to eat a hockey puck, never mind the wasted money!  Recipe sites online, such as Cooking Light (https://www.cookinglight.com/cooking-101/healthy-air-fryer-recipes), All Recipes (https://www.allrecipes.com/recipes/23070/everyday-cooking/cookware-and-equipment/air-fryer/) and Taste of Home (https://www.tasteofhome.com/collection/air-fryer-recipes/view-all/) can give great ideas, and some recipes have notes to help prevent a ruined meal.  The manual that comes with the air fryer has basics such as fries, chicken wings, small meat and poultry items, onion rings, fish sticks and vegetables.  I found, online, a recipe for Aracini (Italian Rice Balls) and I am so looking forward to making these babies.  Breaded fish and chicken cutlets, even a small roast chicken (3 pounds) can also be made within an air fryer.  Panko (Japanese bread crumbs) are found in many of the recipes for breaded seafood, chicken and pork; helps to make a great crunch on the food.

3 lb. Seasoned, Whole Chicken (cut off wing tips!)

One hour only for a fully roasted whole chicken!  


Ding!  The timer announces my fries are done; spooning them onto a plate, sprinkling a bit of Utah’s Own Real Salt and YUM!  Browned and slightly crisp on the outside, fluffy potato on the inside and no oily residue!  Cleanup?  Let the air fryer cool down first, then remove the basket unit, soapy hot water and done; there was no oil inside the unit either.  The roast was done (medium-rare) at the same time as the fries, so time to sit down, celebrate the New Year with a tasty meal and relax.


This is just my experience with an air fryer and one model; here’s a link to a review site if you want to check out other models and see what people are saying: https://www.bestreviews.guide/    Friend, family member, neighbor has one?  Get their advice, or maybe they’ll invite you over for a demo and taste test.  All I know is, thanks Amy for such a great gift, love it!

Mary Cokenour

Monday, March 5, 2012

Crispy Fries from the Oven.

Fried, the very name indicates that a food item has been dropped into a deep skillet, or deep fryer contraption, filled with sizzling oil. To be cooked until done, drained upon paper towels, seasoned and enjoyed while hot. Unfortunately, once the fried food begins to cool down, any oil within tends to ooze out and it doesn't taste so yummy anymore.

There is an alternative method and that is to make the "fried" food in a very hot oven with minimal fat used. Whether using butter, margarine, oil or combination, the amount used is enough to coat the food, let it cook to crispiness, but not get soggy once it begins to cool down. The recipe I'm posting contains a basic seasoning mix, but try mixtures that would complement a total meal, such as an Italian herbal mix. However, try to avoid using olive oil as it does not get hot enough in the oven to give a good crisp to your potatoes.

Oven Baked Potato Wedges

Ingredients:


3 large baking potatoes, unpeeled
2 Tbsp butter, softened
2 Tbsp canola or peanut oil
1 tsp each fine sea salt, garlic powder and paprika
½ tsp ground black pepper
¼ tsp ground cayenne pepper

Preparation:

Preheat oven to 450F; spray a large jelly roll pan with nonstick cooking spray.

Rinse the potatoes and pat dry; cut each potato lengthwise in half and then cut each half into four long wedges.

In a large plastic bag, combine the potatoes, butter, oil and seasonings; make sure to coat the wedges thoroughly. Place in a single layer onto the sprayed pan; bake for 35-40 minutes, turning once; until tender inside and crispy outside.

Makes 4 servings (6 wedges per serving)

Mary Cokenour

Sunday, December 11, 2011

Fish Fry.


Depending on where you hail from, a fish fry can be via a variety of techniques; deep fried, pan fried, oven fried; battered, breaded or plainly seasoned. Luckily, I and my family enjoy seafood, so we can easily say we've had it any way we can, and are not afraid to try new recipes concerning creatures from the world's oceans.

When it comes to frying fish in a deep fryer or pan, the oil becomes one of the big considerations. Vegetable oils such as corn, soybean, palm and sunflower are too easily absorbed by the fish; making it too greasy and unappetizing. Olive oil, while being one of the healthiest oils, can have its flavor overwhelm the flavor of the fish itself. Canola and peanut oils are the best to use as they can withstand high temperatures while not having their flavor or greasiness absorbed by the foods being fried. This is great when thick pieces of fish, such as cod, catfish or bluefish, need to cook longer than say thin filets of flounder, trout or swai.

The batter method is used when making the traditional style English fish and chips which will use the thick pieces of cod or haddock. Becoming more popular though is the use of panko (Japanese) bread crumbs which gives a light, airy, crispy coating for not only fish, but shrimp, chicken and even in pork dishes. For pan frying, coating the fish in bread crumbs or simply seasoning with herbs means less oil is used than in a deep fryer. With a coating, a simple 1/4 inch of oil will do the job for thin (1/4 to 1/2 inch thickness)filets, cooking each side for 5-7 minutes to achieve a flaky, yet smooth texture to the flesh. Simply seasoned, just enough oil to keep the fish from sticking to the pan can be used; you just have to decide if you want to have the skin on and make it crispy, or forego the skin.  Basic seasonings can be lemon, ground black pepper, salt and herbs such as rosemary or thyme; using Italian flavored bread crumbs gives you the seasonings premeasured and premixed into fine crumbs.

When it comes to a fish fry, the process, no matter which you decide on, is easy; it's deciding the type of fish, coating and seasonings that makes the brain go into overtime.  Enjoy!

Mary Cokenour