Showing posts with label skillets. Show all posts

Friday, January 11, 2013

Chile or Chili, it's Still Green.

Is it Chile or Chili? If it's the country in South America, it's Chile. If it's the singer from the group "TLC", it's Chilli; and when it's very cold outside, well that's Chilly. However, when it's the vegetable, it's the Green Chile Pepper, but when exactly does it become Chili? Then there's the plural, is it Chiles or Chilies? Confusing isn't it; and so many sources have so many definitions; so many recipes use the spellings so interchangeably.    Lets just get to the story of the Chile Pepper itself and the most popular one in the Southwest is the New Mexico Green Chile Pepper, primarily grown in Hatch, New Mexico.  Oh yes, there are numerous types of chile peppers within the United States, and worldwide, but I'm just going to focus on this one type for today's blog post.

Hatch chiles (ies) are available in a canned version, all roasted, seeded and peeled for you which is advantageous if you cannot find fresh chiles in your area.  This is what I had to do when I lived in Lancaster, PA, and while convenient, there was still that metallic taste from the aluminum cans to contend with.  Nope, there is no better alternative to fresh chiles than fresh chiles.
 

Roasting vegetables such as the chile pepper is actually not that difficult. No, you don't need that large barrel type roaster you may have seen on a cooking show; your own barbeque grill, stove top burner (gas only), or oven will do.  Do make sure to grease up the rack on your grill or in your oven; otherwise the chiles will stick and tear apart when being removed.


Remember, you can do the roasting techinque, not just for chile peppers, but those large bell peppers too. When jalapenos are roasted, they become known as chipotle, so be careful if you're one of those people who says, "I hate jalapenos, but love chipotles"; they're the same. Anyway, once the peppers are blackened, place them in a brown paper bag, seal it and let the steam from the peppers make your work easier. Once the peppers are warm to the touch, the skins will easily peel off; give the stems a twist and pull the seed pods right out. Give them a rinse, let them dry and they can be frozen for up to six months, or used immediately.

Two items you can make with your roasted peppers are Green Chile (or Chili) Sauce and Salsa Verde.  With Salsa Verde, it is made using tomatillo instead of actual green tomatoes.  The tomatillo, also known as tomato verde (green tomato) or Mexican husk cherry is related to the gooseberry, and in the nightshade family.


Basic Green Chile Sauce
 
Ingredients:
 
1 small onion, diced
1 Tbsp minced garlic
2 Tbsp canola oil
6 large green chile peppers; roasted, seeded, peeled and chopped
1 tsp cumin
2 cups water
salt
 
Preparation:
 
In a large sauce pan, heat the oil on medium-high heat; saute' onion until softened; the garlic should be added when you see the onion just beginning to soften.  Reduce heat to low, add the peppers, cumin and water; simmer for 30 minutes; stirring occasionally.  Puree to desired consistency using a blender or immersion blender; add salt to taste.
 
Makes 1 and 1/2 cups.
 
Basic Salsa Verde
 
Ingredients:
 
6 tomatillos, removed from husks and washed
water
1/4 chopped onion
1 clove garlic
3 large large green chile peppers; roasted, seeded, peeled and chopped
salt 
 
Preparation:
 
Place tomatillos and water into a large saucepan; on medium-high heat, bring to a boil.  Reduce heat to low and let simmer for 15 minutes. 
 
Quarter the tomatillos; add tomatillos, onion, garlic and peppers to a blender.   Set on puree and slowly add 1/4 cup water until ingredients achieve a smooth texture.
 
Makes 1 and 1/2 cups.
 
Ok, so what do you do with the sauces now?  While you can use them as dips for a party, they can be used in such Mexican recipes as enchiladas or burritos; used as toppings for a breakfast skillet or even in a main dish.  Here's a simple recipe you can make quickly at home; rice, grilled vegetables or a salad can serve as the side dish.


Green Chile Chicken
 
 
Ingredients:
 
2 Tbsp olive oil
8 skinless chicken tenderloins
1 tsp Mexican oregano
1/2 tsp ground black pepper
1/4 tsp fine sea salt
2 Tbsp white wine
1 cup green chile sauce, warmed
8 tsp diced red tomatoes
 
Preparation:


In a large skillet, medium-high heat, heat the oil; place the chicken "skin side up" and evenly sprinkle with the oregano, black pepper and salt. Brown chicken for 3 minutes.


Turn the tenderloins over, remove the skillet from the heat and add the white wine; this will keep the wine from accidentally catching on fire. Remember, you're not making a flambe', you're just searing the chicken. Set back on heat and cook 3 minutes before removing from skillet.


Two tenderloins per serving, a tablespoon of sauce over each plus a teaspoon of diced red tomatoes.  So you'll get the heat temperature from the seared chicken and warmed sauce; the spicy heat of the green chiles grabs you; but now the cool, sweetness of the tomatoes gives you a full flavor taste explosion in your mouth.  Mexican style rice, grilled vegetables or even a simple salad as a side makes this a complete meal; and there's the key word: simple.

Enjoy!

Mary Cokenour

Thursday, January 3, 2013

It's Beefy, Eggy and Good Anytime.

Recently I enjoyed an adventure in making a Prime Rib for the first time. Then I did a bit of thinking, yes I do that on occasion, and wondered if the roasting technique I used on the prime rib could be done with other types of beef roasts. Instead of buying cold cuts at the supermarket, I usually roast my turkey and chicken breasts, glazed ham or roast beef; then thin slice them for sandwiches or chopped up for salads.

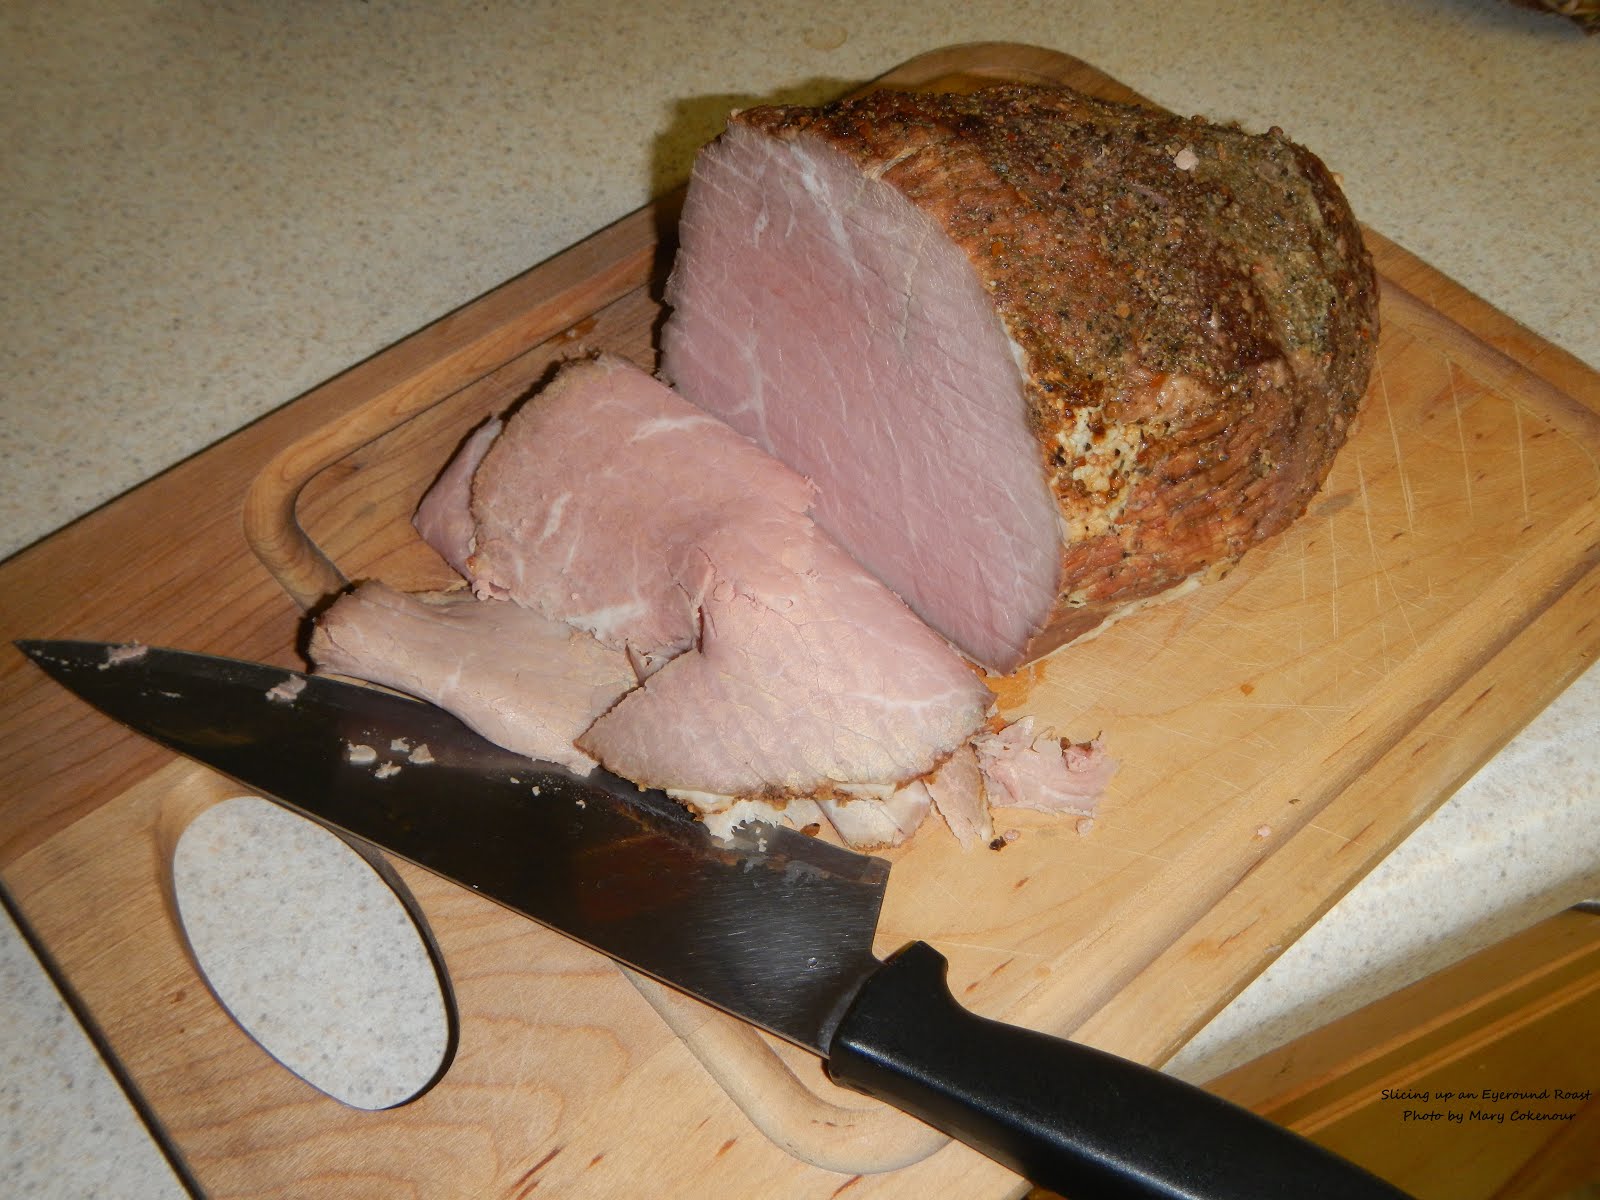
This time I had a lovely, lean eyeround roast waiting for its turn in the roasting pan.  Leaving out the rosemary and thyme, I only seasoned the meat with the salt, ground black pepper, garlic and onion powders; but cooked it the same way as I had done with the prime rib.  Again, I relied on my meat thermometer to tell me when it reached medium-rare.


Now one morning hubby wanted breakfast and he was thinking along the lines of eggs, bacon and cheese on a toasted roll.  Well he got more than he bargained for, as I like to think and cook outside the box.  You see, I had forgotten to take the bacon out of the freezer for defrosting, but the container holding that lovely roast caught my eye....and the cheddar cheese slices, and the mayonnaise, and the butter.  I never said this was going to be a heart healthy sandwich, but you can always tweak what I'm telling you here to your own needs.  Back to the story....


After slicing open the Kaiser roll, I buttered up the outside top and bottom of the roll, just like I was going to make a grilled cheese sandwich.


Heating both my griddle pan and 8 inch skillet, I opened up 2 eggs which went into the 8 inch skillet.  The Kaiser roll went butter side down on the griddle pan with a smear of mayonnaise on both face up sides.  A slice of mild cheddar cheese also went down over the mayonnaise; while several very thin slices of beef sat on one roll half.  I flipped the eggs over as hubby likes them over easy, let them cook a bit before sliding them on top of the beef.  Now here's the important part, place the cheese only side of the roll over the eggs and press down lightly; you don't want to break the yokes.   Let the sandwich fry for about another minute before moving it to a plate.

 
...and there you have it, the Beef and Egg Anytime Sandwich. Why did I name it "Anytime"? Hubby enjoyed it so much, he wanted one for dinner that night; and then again for lunch on another day.

Be warned though, you will need lots of napkins for this sandwich. Pick it up whole, bite into it and you'll get a gush of egg yolk all over your face and hands. Cut it in half, pick it up and the egg yolks will still get on you. However, once you taste it, you won't care the slightest. The crunch of the butter fried roll, the smooth melty cheese, seasoned beef enriched with the mayonnaise intertwined with yolky goodness. Yes, you will think, this is nirvana!!!

Enjoy!

Mary Cokenour
January 3, 2013

Monday, January 30, 2012

Omelet Making 101

Making an omelet can be terrifying at first, but in this case, practice will make perfect, and so will the right tools.   While a skillet will work in a pinch, an omelet/saute pan has sloped sides making it easier for the spatula to work with the egg mixture, and to slide the finished omelet out of the pan.  Having a long, narrow spatula is a blessing as it slides more easily under the cooked egg mixture to help flip over one side and enclose the ingredients without breakage.

When purchasing your pan, look for a 10 inch heavy duty nonstick brand; remember that this will also work for sauteing, not just making omelets. You also don't want to go too large on the pan, as it will be more difficult to work with the egg mixture; more surface to fold will mean more chance of breakage.

When it comes to ingredients for the omelet, the basics are:

3 large eggs
3 tsp cold water
1/4 tsp salt
1 Tbsp butter for the pan

When it comes to seasonings and herbs, you have the choice of adding them to your egg mixture, or sprinkling them over the mixture once it's in the pan. Ingredients for inside the omelet can be just about anything you would enjoy with eggs; just make sure that meats and vegetables are at room temperature. Nothing worse than having a nice hot omelet loaded with cold ingredients in the center. Cheese should be thinly sliced or shredded to make sure it melts properly as the omelet cooks.

To get started, melt the tablespoon of butter in the pan over medium-high heat. While doing this, whisk together in a small bowl the eggs, water and salt. The butter will foam when first melting, but once it stops pour the eggs into the pan evenly and let them settle in the pan for about a minute. Gently lift an edge, tilt the pan and allow a little egg mixture to flow underneath and repeat this all the way around. Continue this procedure, lifting a little more of the solid egg each time, until all the egg mixture has been incorporated around the pan.  You are basically allowing the omelet to build up.

On one half of the omelet, begin adding your fillings; cheese first, so it can melt; next meat and finish with vegetables. Only do this on one half as you'll be flipping the other side over the ingredients you added into the pan. Let the omelet sit for two minutes, now gently slide your spatula under the egg only side of the pan and quickly flip it over the filling side. Don't think about it, just do it; otherwise you are giving the omelet a chance to break where the spatula is not holding it.


The above photo is of a Chili Cheese Omelet I made for my hubby. I had about 1 1/2 cups of my Sirloin Beef Chili left over and a cup of shredded Mexican mix cheese. Inside the omelet, I spread 3/4 cup of the cheese and then one cup of the chili over that. After flipping over the egg only side, I spread the remaining cheese and poured over the remaining half cup of chili. Not a bite was left on his plate.

So be a little adventurous and make that omelet you're craving; it might be messy at first, but it'll still taste yummy.

Mary Cokenour

Saturday, January 28, 2012

Calphalon - It's All That and Made in the USA.

Calphalon

Website: http://www.calphalon.com/

For the holiday season of 2011, Roy received a very nice bonus from the new company he was now working for.  While he went off to purchase new video games for his PC, I decided to finally buy new cookware that I have wanted for a long time...Calphalon.

The Calphalon company was founded in 1963 by Ronald Kasperzak in Perrysburg, Ohio.  He wanted to make a cookware product that was heavy duty, easy to handle and clean, up to the standards of any professional chef, but affordable by the public.  Calphalon is lightweight, nonstick and the handles stay cool to the touch; how many of us have burned ourselves on pot handles or needed a forklift to take a overly heavy skillet off the stovetop?  Recipes can be cooked at lower temperature settings as the heavy gauge metals used in the cookware distributes heat evenly and more quickly.  Not only does this save gas or electric, depending on your stove type, but it saves on cooking time.

No more using nonstick cooking sprays as they have a chemical within them that makes the cookware remain sticky and discolor.  Basically you do not need to use any oils or butter to keep food from sticking; they can be primarily used for flavor enhancement if needed.  Cleanup is hot, soapy water and a simple sponge; no scratchy pads, harsh cleansers or most certainly do NOT put the cookware into the dish washer.

Is Calphalon expensive?  Yes and no.  Most definitely yes if you're on a very tight budget, but sales and clearance sales can be found just about anywhere nowadays, especially online.  No if you want a product that will last for years and you're tired of throwing out pans that only last 6 months to a year because they were cheap to buy and made even more cheaply.  If you have a passion for cooking and want cookware that expresses that passion, choose Calphalon.


Above is a photo of my kitchen hanging rack with my new pans, and yes, I have a wishlist for further purchases.


Mary Cokenour