Laying the deep-fried meat
onto a cutting board, the knife is positioned to cut one-inch pieces. With a deft hand, the blade is pushed
downward and a soft “thwack” sound upon the board. A rocking motion, once forward, once
backward, and the one-inch sections comes off cleanly. The exterior of the batter, at eye
inspection, looks rough, heavy and uneven.
Lifting it up, it stays upon the meat which is perfectly cooked
throughout.
Dipping one edge into the
deep brown, almost black, sauce, bringing it upward towards the mouth; the
aroma is savory and enticing. The first
bite, the texture of the coating is actually, light and crispy. As one chews,
it begins to melt; the sauce coats the tongue with a sweet, salty, tanginess
that makes the eyes roll back into the head.
Such flavor, such richness, how could something so simple, be so sinfully…
…we interrupt our show
with a word from our sponsor, Panko.
Panko is Japanese style breadcrumbs which are large, flaky and do not
pack together too tightly, so food stays crispier for longer periods of
time.
The bread used is crustless white
bread that is steamed, then dried before being processed into large
flakes.
The flakes do not absorb as much
oil as regular ground bread crumbs, enabling a lighter and crispier texture
after frying.
Even after being stored,
in the refrigerator, for up to 3 days, the texture of the coating still had a
less oily, yet crispier texture.
Panko
is lower in calories, sodium, and fat, and higher in fiber than regular
breadcrumbs, but is not gluten free.
While it is healthier than ground breadcrumbs, moderation is still a key
factor when indulging in deep fried foods.
Now to introduce you all
to another adventure in consuming deep fried Japanese food, Katsu. It is 1899, and while chefs in Osaka were
developing new ways of using tempura batter; a Tokyo chef, in a restaurant
called Rengatei, was creating katsu.
Once again, European influence was the background for the creation. Instead of simply coating meats with a light
flour-based batter, panko was used as the texture would hold up better when
paired with a Japanese favorite, curry.
Japanese curry is unlike Indian curry, as it is made using curry powder,
oil, and flour. A roux forms, pureed
steamed meat and vegetables are added, and the entire concoction is simmered
until a thick sauce forms. The curry is
then served with rice or udon noodles, or made into a bread or bun (encased in
dough, covered in panko, and deep fried until golden brown). Which brings us back to panko, and how to
make the most delicious fried cutlets, katsu!

The cutlets should be
between ½-inch to ¾-inch thickness to ensure the meats are thoroughly cooked,
but the panko coating does not over-brown, or burn.
The best instructions, and
recipe, I have come from “Drive Me Hungry” food blog, written by a woman of
South Korean ancestry. While you can go
to her site(https://drivemehungry.com/tonkatsu-pork-katsu/) for the full
information, directions, hints and notes, I have simplified them for this
article.
Tonkatsu (Pork Cutlets),
Katsu (Chicken Cutlets) or Gyukatsu (Beef Cutlets)
Ingredients:
2 slices boneless pork
chops pounded to ¾ inch thick; 5oz each (or chicken or beef)
1 cup Japanese panko bread
crumbs
½ cup all-purpose flour
1 egg beaten
salt & pepper
vegetable oil for frying
Tonkatsu/Katsu/Gyukatsu
Sauce
4 Tbsp. ketchup
2 ½ Tbsp. Worcestershire
sauce
1 Tbsp. soy sauce
1/8 tsp. each garlic and
onion powder
1 and ½ tsp. sugar
(optional)
Preparation:
Make the
Tonkatsu/Katsu/Gyukatsu Sauce
Combine the ketchup,
Worcestershire sauce, soy sauce, and garlic & onion powder in a small bowl.
Taste and add sugar if desired. Set it aside.
Bread the Meat
Prep the cutlets: Cut
slits into the white connective tissue on the outer edge of each cutlet. This
prevents it from curling up as it cooks.
Add the egg, flour, and
panko bread crumbs to separate bowls. For a crispier crust, mix a tablespoon of
flour with the egg to create a thicker egg wash for more bread crumbs to adhere
to.
Salt and pepper each
cutlet, then coat it in flour and shake off the excess. Next, dip it into the
beaten egg and then firmly press it into the panko bread crumbs for a thick,
generous layer of breading. Just before
placing in oil, press each cutlet into panko again, as some of the coating may
have become soggy while waiting for oil to heat up.
Deep-fry the Cutlets:
Heat oil: In a large
heavy-duty pot or fryer, add enough oil to deep fry the cutlets. Heat the oil
to 340F over medium heat to ensure the pork fully cooks without burning the
bread crumbs. If you don't have a thermometer, drop some bread crumbs into the
oil. It's ready when it begins to sizzle.
Fry the cutlets: Gently
place a cutlet into the oil and deep-fry for 5 to 6 minutes per side or until
meat is fully cooked and the panko coating is golden brown and crispy.
Use a skimmer to clean up
loose breadcrumbs and try to keep the oil temperature at 340F. Repeat with the
remaining cutlets and work in batches to avoid lowering the oil
temperature.
Serve: Slice the cutlets
into 1-inch strips, and serve with sauce, shredded cabbage, and steamed rice.
 |
| Gyukatsu |
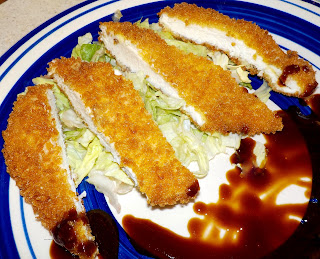 |
| Katsu |
Makes 2 servings.
Leftovers: Store in an
airtight container and keep in the fridge for up to 3 days or freeze for up to
1 month.
Reheat: Reheat in an oven
or air fryer at 350F until warm and crispy, about 4 - 7 minutes.
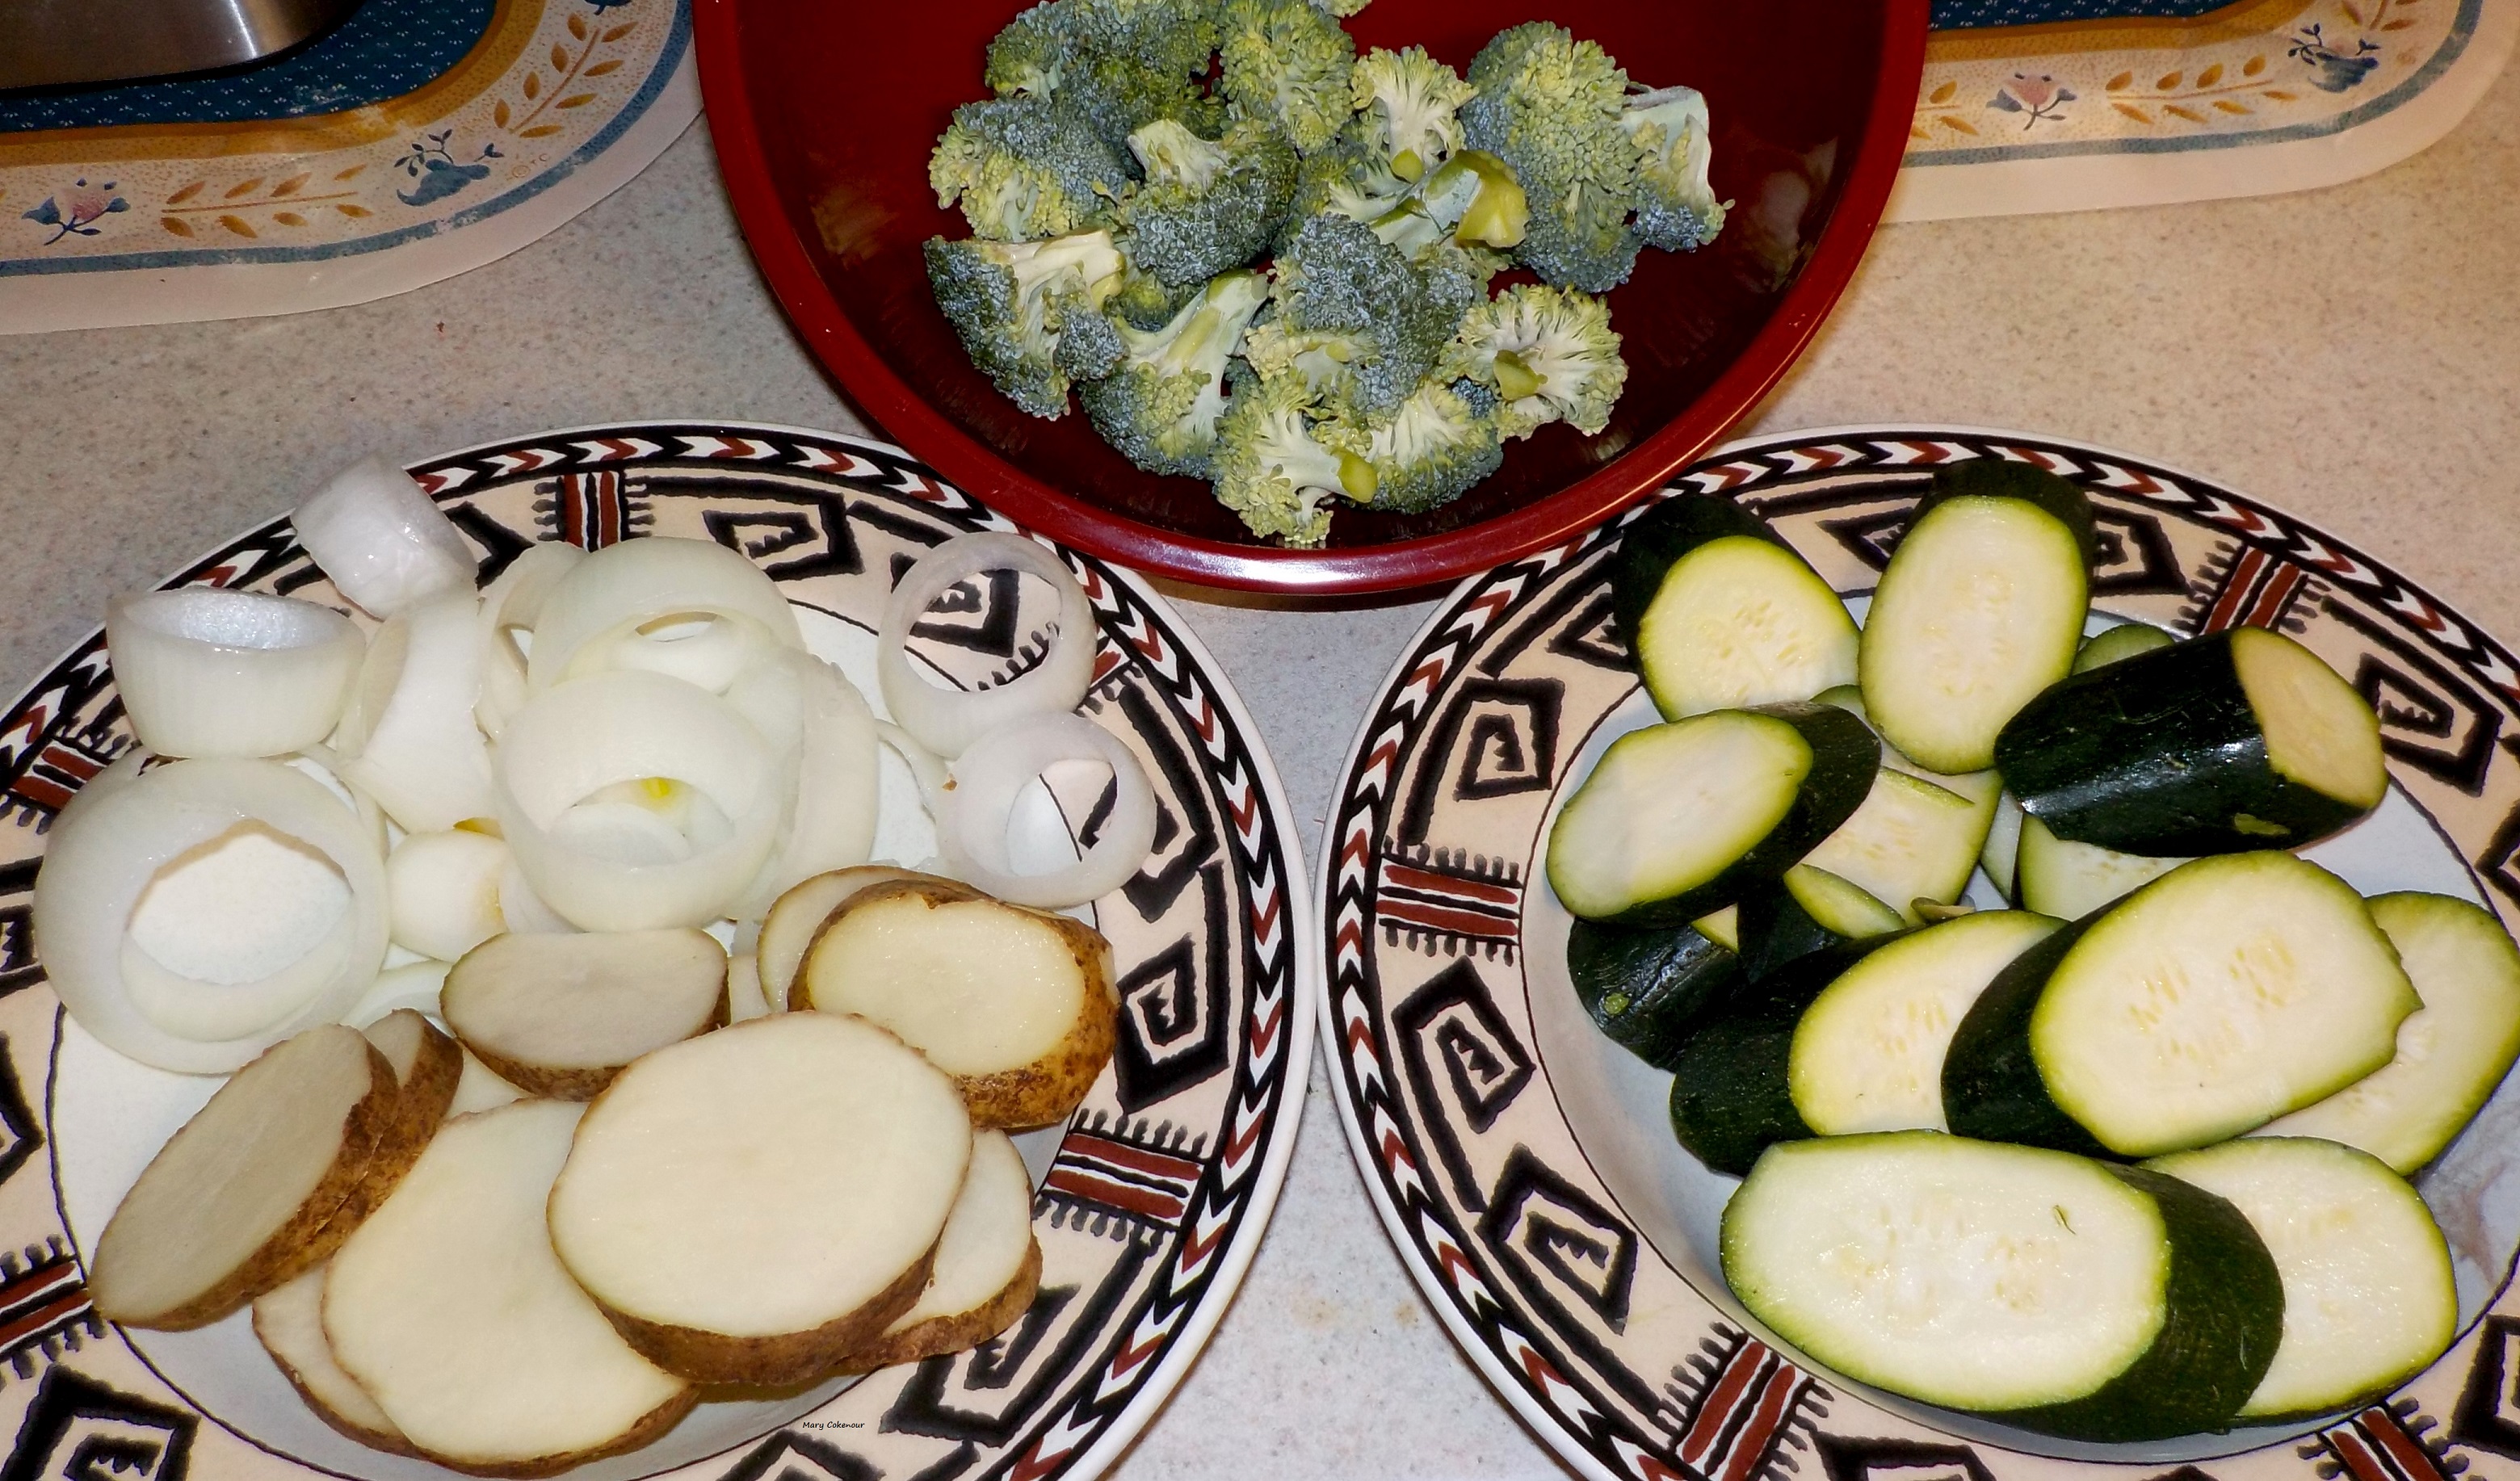
Yes, the same technique can be used on firm fish such as salmon, cod, or haddock; and on vegetables too.
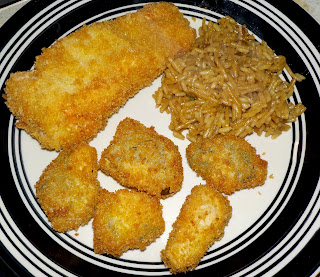 |
Salmon, Zucchini Chunks, Fried Rice
|
My personal experience was
that this recipe was spot on for making the most epic katsu. I used all three meats: chicken, pork, beef;
all came out perfectly cooked, and the panko exterior was addicting! When making the sauce though, I added two
teaspoons of sugar, as the soy and Worcestershire sauces made it too salty; the
sugar cut this down.
However, I found another
sauce recipe which includes hoisin sauce, instead of Worcestershire. When using the first sauce, I likened it to
hoisin due to its dark coloring, and rich, deep flavor. Hoisin is an entirely different creation,
with the only same ingredient used being soy sauce. Here is the alternative katsu sauce recipe:
Ingredients:
1/4 cup ketchup
2 Tbsp. hoisin sauce
1 Tbsp. low-sodium soy
sauce
1 and ½ tsp. lemon juice
½ tsp. minced garlic
Preparation:
In a small bowl, whisk all
ingredients together, set aside until ready to be used.
I hope you have enjoyed
this two-part journey in deep fried Japanese cuisine, and in the famous words
of Soma Yukihira, “Order up, and you’re welcome!”.
 |
| From: https://animemotivation.com/food-wars-life-lessons/ |
|
|
Mary Cokenour