Showing posts with label childhood. Show all posts

Wednesday, August 19, 2026

Spoiling Your Inner Child.

Sometimes, no matter how you try and repress childhood memories, well the bad ones at least, they still come back to haunt and intimidate you.  The good memories I have, which are few and far between, seem to mostly center around food.  One of these was the first time my mother made rice krispies treats for me.  They were so gooey, yet crunchy and deliciously sweet! But she only made them once as she felt the "mess in the pan" wasn't worth the effort.  

As I grew older, I was able to obtain these treats in stores, and eventually learned to make them myself once I adopted my son. Seeing how much he enjoyed them was worth the work, and he even asked me to make them as he went into teenage years and adulthood.  I don't understand why the big fuss over the "mess in the pan" as it easily cleans out with hot soapy water and a sponge anyway.

Anyway, a little history about this childhood treat; it was invented in 1939 by Malitta Jensen and Mildred Day, and the Kellogg’s Company, to help raise money for the Campfire Girls Foundation.  It was a simple recipe of melted butter and mini-marshmallows mixed into rice krispies, allowed to cool, cut up into squares and enjoyed.   Nowadays, this simple recipe can include any manner of mixture from different types of cereal, toasted oatmeal or crushed granola.   Additions of candy bits, chopped nuts, peanuts, peanut butter, or drizzled with chocolate or caramel creates a treat for those of a more “refined palate”.  Oh, who am I kidding, they just taste even better!

Oh, a little history on the correct spelling of the treat’s name.  The official spelling for the famous cereal and treats is Krispies with an "ies," though "crispy" is the normal English word for crunchiness. Kellogg's Rice Krispies uses the stylized "K" brand name, in other words, “K” for Kellogg’s, so “K” for Krispies.  However, folks commonly spell the homemade marshmallow squares as "rice krispie treats”, “crispy treats", or “rice krispy treats”.  I know, who cares, just have fun making, and then eating, them.

Making treats nowadays might take a little more calculation too, depending on the density of the cereal used plus any other added ingredients, and the size of the pan used as well.  Normally it is 1 stick of butter (8 tablespoons), 1 (10 ounce) package of mini-marshmallows (they melt quicker) and 6 cups of rice krispies cereal.  It is all pressed into a greased (with butter) 2-quart rectangular baking dish; cooled for an hour and then cut into squares.  While the butter and marshmallows can be melted in a stovetop pan, nowadays a microwave is more convenient and makes it easier to control the melting process to avoid burning.


Just last week I made treats with additions of dark chocolate chips and toffee bits.  Hubby, and my favorite taste testers at the local 7-11/Exxon, were very happy with the combination.

Personally, I prefer the original version, but I have made them with the addition of crunchy peanut butter, and they were devoured in a couple of days.  Here’s the recipe for that version.


Peanut Butter Rice Krispies Treats

Ingredients:

7 cups rice krispies cereal

1 stick (8 Tbsp.) salted butter plus 1/2 Tbsp. for greasing dish

1 cup crunchy peanut butter

1 (10 oz.) bag mini-marshmallows (make sure they are fresh!)

Preparation:

Into a large mixing bowl, measure out 7 cups of rice krispies cereal; lightly grease a 2-quart rectangular baking dish with butter.

Into a medium mixing bowl, melt the butter and peanut butter in the microwave for 45 seconds; add in the marshmallows and toss to coat. Microwave for 60 seconds, mix thoroughly; microwave another 30 seconds, mix and pour over cereal. Using a sturdy spoon, mix together so the cereal is thoroughly incorporated. Put the mixture into the baking dish and press out to the sides as evenly as possible; cover with plastic wrap and let cool on counter for one hour. Cut into squares and enjoy.


How many does it make?  It all depends on the size of the squares that are cut.

Do yourself a favor and spoil your inner child once in a while; you deserve it. Oh, and if you have children, spoil them once in a while too, and give them fond memories for adulthood.

Mary Cokenour

Wednesday, June 15, 2022

School’s Out, but Lunch is In.

 “School's out for summer

School's out forever

I'm bored to pieces

No more pencils, no more books

No more teachers, dirty looks

Out for summer, out 'til fall”

School's Out

Song by Alice Cooper, 1972

When this song first came out, radio stations either refused to play it, or were pressured not to by school officials and parents. The lyrics made it sound as if children were being told to be rebellious, disrespectful to teachers, and pushed towards violence (sound of an explosion at end of the song).

Then there were those who thought it was an anti-Vietnam War anthem with the words:

 “We can't salute ya

Can't find a flag

If that don't suit ya

That's a drag”

…and “We might not come back at all” meant they went off to fight, and died in a war the United States should not have been involved in.

Alice Cooper (yes, I am a big fan of his music and theatrics) could have cleared up all the misnomers if asked though.  The title and lyrics were inspired by a warning often said in Bowery Boys movies in which one of the characters declares to another, "School is out," meaning "to wise up." The Bowery Boys were characters featured in 48 movies that ran from 1946-1958. They were young tough guys in New York City who were always finding trouble.  Oh, and I grew up watching the Bowery Boys reruns on Sunday afternoons, along with Abbott and Costello and Laurel and Hardy.  I loved them all!

But I digress…Alice Cooper also stated, answering the question, “What is the greatest three minutes of your life?”:  "There's two times during the year. One is Christmas morning, when you're just getting ready to open the presents. The greed factor is right there. The next one is the last three minutes of the last day of school when you're sitting there and it's like a slow fuse burning. I said, 'If we can catch that three minutes in a song, it's going to be so big.'" ("School's Out" Forever: The Secret History of Alice Cooper's Classic". Deadspin. May 21, 2015)

Being in school effects everyone differently; some have the greatest time while others cannot wait to get away from the entire system.  When that final bell rings in May or June, it indicates freedom and the beginning of summer fun.  However, there is one thing that might just be missed, and that is the school lunch.  Whether brought from home, or purchased in the school cafeteria, it was, between a half hour to one hour, of enjoying a meal with friends and classmates.

Now when I was in elementary school, it was a strict Catholic school where meals were not offered for purchase, only milk and snacks.  There were lunch ladies, but they created meals for the nuns, priests and teachers before monitoring the children in the lunchroom.  So, you either brought your lunch from home, went home for lunch, or went without.

Middle and high schools were public; a monthly menu went home with each student, listing what was to be served each day.  My favorite was the meatball sub and the pizza.  Dessert choices were fresh fruit, pudding and jello; baked goods were prepackaged from factories. So, imagine my surprise when I found a recipe for “Lunchroom Lady Brownies”.  Imagine my bigger surprise when I found out that many schools actually made food from scratch!  Discussing this on Facebook, many on my friends list offered up comments on their favorite meals, or separate items, such as yeasty rolls warm and melting with butter.  Be still my racing heart!

Now I can go on and on about former First Lady, Michele Obama, and The Naked Chef, Jamie Oliver, and their campaign to bring healthier, fresher foods to the school lunch menu.  Or how many children go hungry due to not being able to afford a school lunch, or there is just not enough funding for a full-on school meal program.  This is not the time for it, for all I want to do is reminisce good memories.

By the way, there is a site which archives every recipe, for every school lunch item, in the public schools of the United States:  https://archive.org

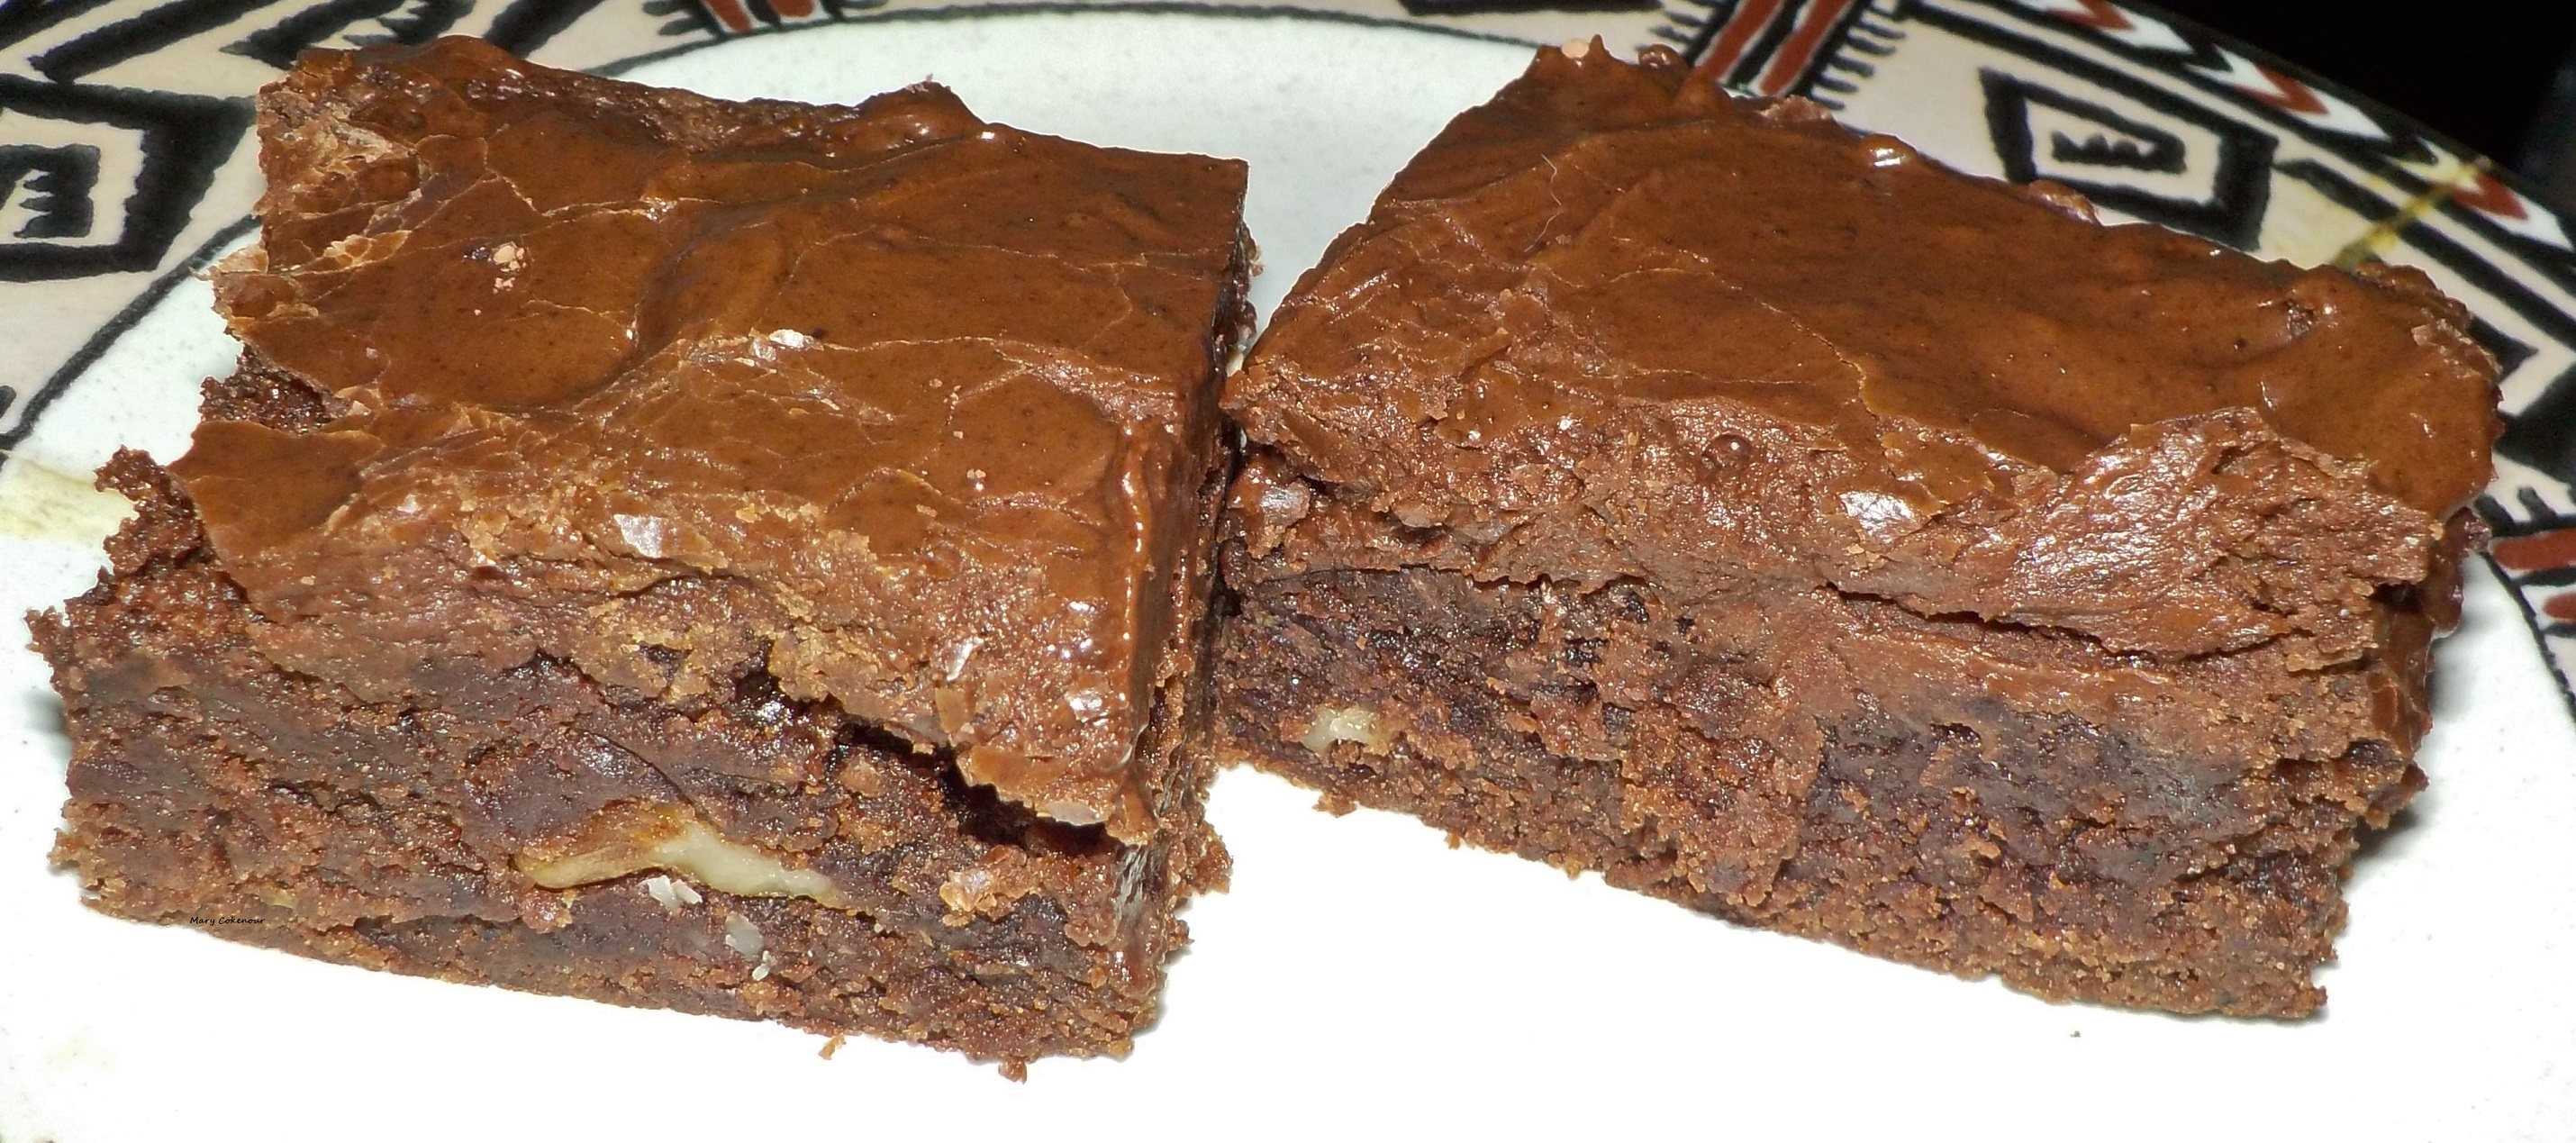
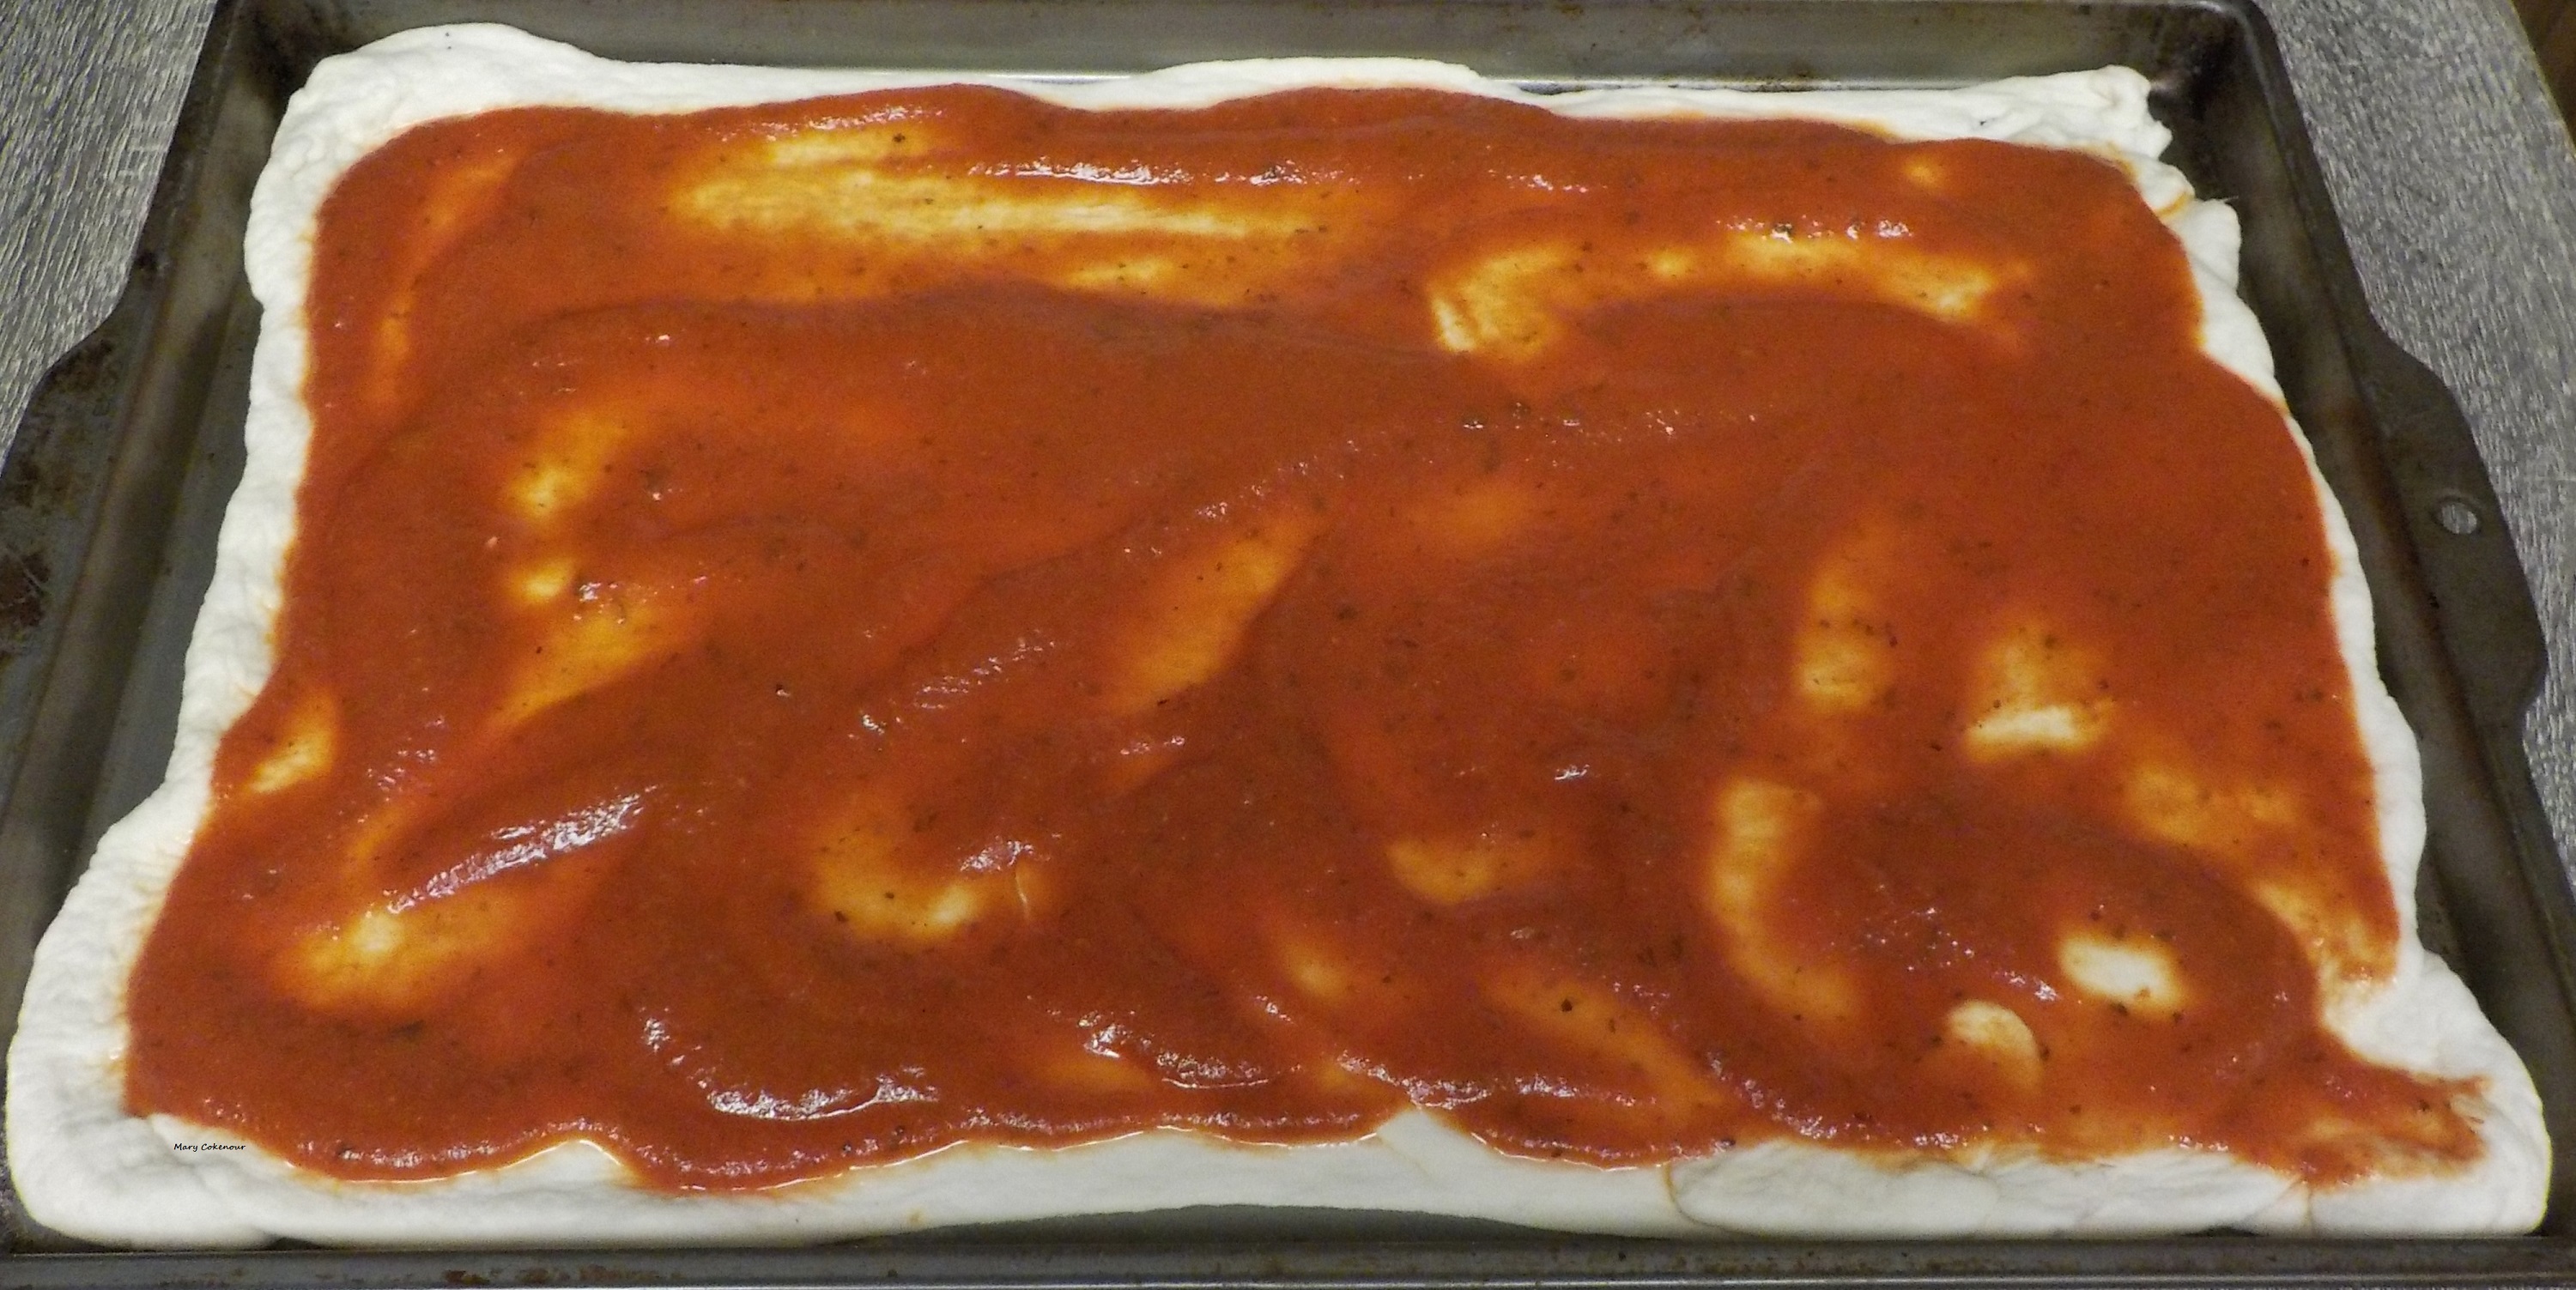
School Lunch Rectangle Pizza and Lunch Lady Brownie

 Lunchroom Lady Brownies is a 50-year-old recipe, supposedly created by a lunch lady in the 1970s, primarily claimed by the South, but other sites state it was Idaho.  After baking, it has a cake-like texture, but as it cools, shrinkage creates a chewier texture.  Whether frosted or not, the brownie itself is fudgy and tasty.


Lunchroom Lady Brownies

 Ingredients:

1 cup butter, softened

2 cups sugar

4 eggs

4 tsps. vanilla

1/2 cup unsweetened cocoa powder

2 cups all-purpose flour (add 2 Tbsp. for high altitude)

1 cup chopped walnuts or pecans (optional)

Preparation:

Preheat oven to 350F; spray 9 x 13 baking pan with baking spray, or line with parchment paper.


In a large bowl, cream together butter and sugar until fluffy; beat in eggs one at a time, beat in vanilla.  In a medium bowl, sift cocoa with flour; mix dry ingredients into wet until fully incorporated (will form a thick batter).  Mix in nuts if desired.

Before Baking

After Baking and Cooling


Smooth out batter into pan; bake 20-25 minutes, or until toothpick, inserted in center, comes out clean.

Icing (Optional)

1/4 cup softened butter

¼ cup evaporated milk, or 2% milk

1/4 cup unsweetened cocoa powder

3 cups powdered sugar

Dash of salt (optional)

Beat all together until smooth; frost brownies after completely cooled; cut into squares.


Makes 15-18 brownies, depending on size cut.


For the pizza, the recipe on the archive site is a bulk recipe, so I was able to find a modified version for a smaller version.  In the past, I have made a similar recipe using either store bought pizza dough, or, for a thicker pan-pizza crust, bread dough. 


School Lunch Rectangle Pizza

(Original from archive.org: https://archive.org/details/CAT92970475/page/n71/mode/2up which contains recipes used in public schools.  This recipe was modified by Oven & Apron Blog: https://ovenandapron.com/2014/09/28/old-school-rectangle-pizza/)

Ingredients:

scant 2 tsp (6 g) active dry yeast

2 2/3 c (317 g) all-purpose flour

3/4 c (52 g) nonfat dry milk powder

2 Tbs + 1 1/4 tsp (34 g) granulated sugar

1/4 tsp (3 g) salt [feel free to increase up to 1/2 tsp salt for more flavor!]

1 1/4 tsp (6 g) vegetable oil

scant 1 2/3 c (384 g) warm water

16 oz part skim mozzarella cheese, shredded

2 c prepared pizza sauce

22 slices (40 g / 1.4 oz) pepperoni, minced (optional)

Preparation:

Preheat your oven to 475 degrees. Spray a half-sized sheet pan (18″ x 13″) with cooking spray and set aside.

In a medium sized bowl, stir together the yeast, flour, milk powder, sugar, and salt. Add the oil and stir to combine.

Add the warm water and stir until a thick batter forms (there will still be lumps remaining, that’s okay!). Spread the batter into the greased sheet pan and let the pan sit for 20-30 minutes.

Bake the crust in the preheated oven for 12-15 minutes. The crust will probably pull away from the edges of the pan, and that’s fine too.

When the crust comes out of the oven, sprinkle on 4 ounces of the shredded cheese. Spread the pizza sauce over the cheese, leaving a bit of crust showing around the edges. Sprinkle with the remaining cheese and the minced pepperoni.

Bake the pizza for 12 minutes, until the cheese is melty and the edges are browned. Let the pizza sit 5-10 minutes before slicing into rectangles, two rows of 5 rectangles each. Serve hot!


To store any leftovers, layer pieces between parchment paper or foil and store in a zip top bag in the fridge for up to 3 days.

Makes 10 pieces.

Now, whether you want to have your own lunch room memories revived, or make these recipes for children, grand, even great-grand children; well, have at it!  School’s out for summer.

Mary Cokenour

Sunday, September 9, 2012

Rice Krispy Treats - Spoil your Inner Child

Sometimes, no matter how you try and repress childhood memories, well the bad ones at least, they still come back to haunt and intimidate you.  The good memories I have which are few and far between seem to mostly center around food.  One of these was the first time my mother made rice krispy treats for me.  They were so gooey, but crunchy and deliciously sweet; but she only made them once as she felt the "mess in the pan" wasn't worth the effort.   As I grew older, I was able to obtain these treats in stores, and eventually learned to make them myself once I adopted my son.  I don't understand why the big fuss over the "mess in the pan" as it easily cleans out with hot soapy water and a sponge.

Anyway, a little history about this childhood treat; it was invented in 1939 by Malitta Jensen and Mildred Day, and the Kelloggs Company of course, to help raise money for the Campfire Girls Foundation.  It was a simple recipe of melted butter and mini-marshmallows mixed into rice krispies, allowed to cool, cut up into squares and enjoyed.   Nowadays, this simple recipe can include any manner of mixture from different types of cereal, toasted oatmeal, crushed granola, nuts, dried fruit and mini-candy pieces.

Making treats nowadays might take a little more calculation too, depending on the density of the cereal used plus any other added ingredients, and the size of the pan used as well.  Normally it is 1 stick of butter (8 tablespoons), 1 (10 ounce) package of mini-marshmallows (they melt quicker) and 6 cups of rice krispy cereal.  It is all pressed into a greased (with butter) 2 quart rectangular baking dish; cooled for an hour and then cut into squares.  While the butter and marshmallows can be melted in a stovetop pan, nowadays a microwave is more convenient and makes it easier to control the melting process to avoid burning. 


I made peanut butter treats just yesterday and while you might think I made them too thin; as far as I'm concerned, that means I have a lot more to enjoy.

Peanut Butter Rice Krispy Treats

Ingredients:


7 cups rice krispy cereal
1 stick (8 Tbsp) salted butter plus 1/2 Tbsp for greasing dish
1 cup crunchy peanut butter
1 (10 oz) bag mini-marshmallows (make sure they are fresh!)


Preparation:

Into a large mixing bowl, measure out 7 cups of rice krispy cereal; lightly grease a 13" x 9" baking dish with butter.

Into a medium mixing bowl, melt the butter and peanut butter in the microwave for 45 seconds; add in the marshmallows and toss to coat. Microwave for 60 seconds, mix thoroughly; microwave another 30 seconds, mix and pour over cereal. Using a sturdy spoon, mix together so the cereal is thoroughly incorporated. Put the mixture into the baking dish and press out to the sides as evenly as possible; cover with plastic wrap and let cool on counter for one hour. Cut into squares and enjoy.

Do yourself a favor and spoil your inner child once in awhile; you deserve it.

Mary Cokenour


Friday, August 19, 2011

Remembering Childhood Comforts.

There is a thunderstorm brewing and I am suddenly taken back to a childhood memory. During such storms, I would put 4 chairs in a square formation, throw a large blanket over them and pretend to be camping outdoors. I would have my favorite stuffed animals as company, a flashlight to light the interior, books to read and a large bowl of one of my grandmother's home cooked meals. It could be spaghetti and meatballs, shrimps in sauce, or one of her many delicious soups. Whatever it was, it was wonderful and I would always sneak out of my tent (between thunderclaps) to get a second bowl.

Happy childhood memories are few for me and they almost all seem to revolve around food in some way. No wonder really, as food is comforting in itself. It fools you into believing that all is right with the world, well for that moment at least; and later on, if need be, the memory of it can soothe an unpleasant moment in time.

My grandmother's cooking was able to provide me with, not just comforting moments, but comforting memories to help me later on. One such dish was her Paste E Fagioli; a wonderful dish of beans, meat and pasta in a flavorful broth. The steam rising up from the bowl, so fantasy figures could be picked out, much like one would do when watching the clouds in the sky. The storm is passing as I write this, so I better get back to my Pasta E Fagioli before the wonderous memory passes also.


Pasta E Fagioli

A traditional Italian soup, its name meaning “pasta and beans”. While it is usually made without meat, ground beef or sausage can be used in the recipe.  My grandmother made this soup in a large soup pot on the stove, but I have converted it for cooking in a crock pot.

Ingredients:

2 lbs lean ground beef
1 large onion, diced
3 medium carrots, peeled and diced
4 celery stalks, diced
1 (14 ½ oz) can diced tomatoes
1 (15 oz) can tomato puree
1 (28 oz) can crushed tomatoes
2 (16 oz) cans white kidney beans (Great Northern), drained and rinsed
1 qt beef stock
3 tsp oregano
2 tsp ground black pepper
4 Tbsp dried parsley
¼ tsp cayenne pepper flakes
8 oz ditilini pasta, cooked

Preparation:

In large skillet, brown meat till no pink shows; drain grease.

Spray 6qt crock pot with non-stick spray. Mix together meat and all ingredients except the pasta. Set on low heat and cook for 7 hours; add in pasta and cook another 15 minutes before serving. If desired, grated parmesan cheese can be sprinkled on top of each serving.

Makes 12 - 14 servings.

Mary Cokenour